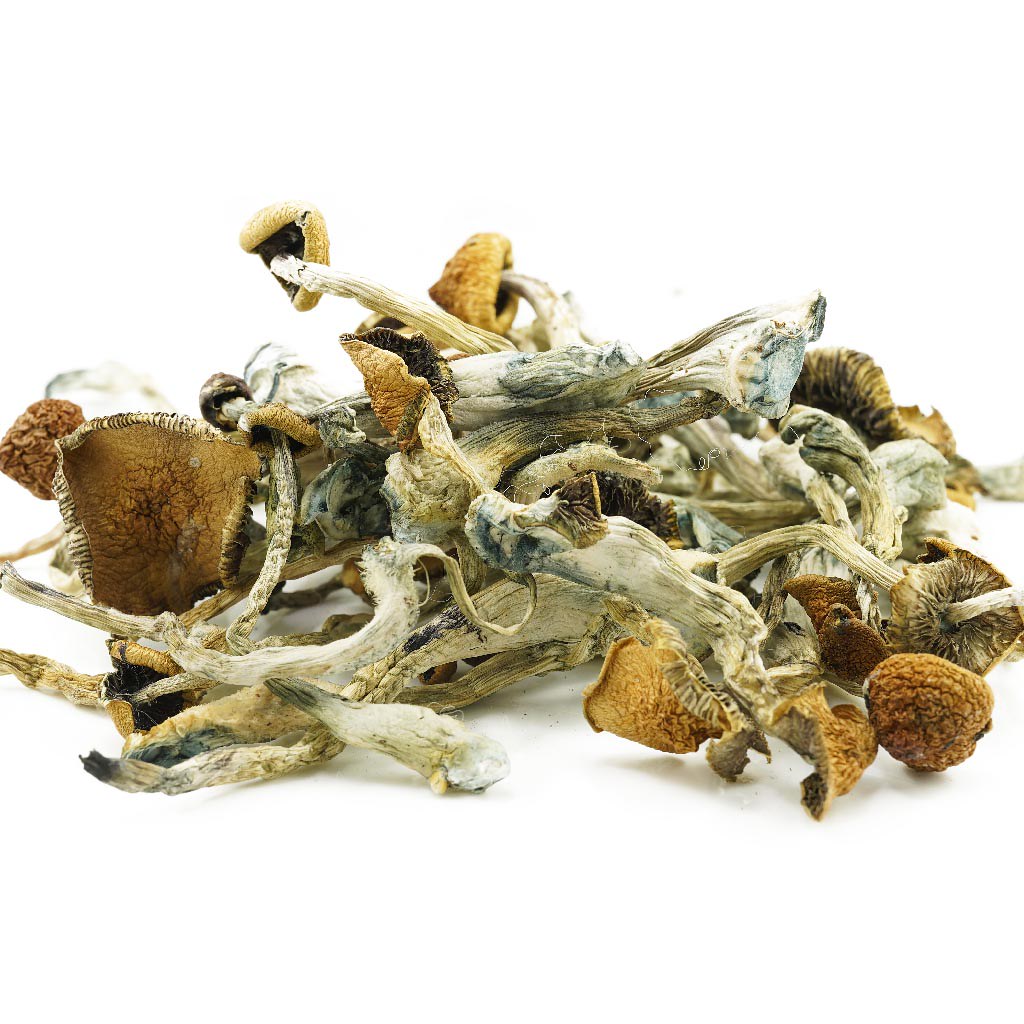
How to Grow Magic Mushrooms: 2026 Legal Status, Methods, and Yield (Guide)
Last reviewed and updated: May 11, 2026.
The short answer: Growing magic mushrooms at home means cultivating one of about 200 fungal species — most commonly Psilocybe cubensis — that produce psilocybin and psilocin. The three primary methods are PF Tek (jar-based, beginner), monotub (single-tub bulk, intermediate), and full bulk-substrate setups (advanced). Cultivation remains illegal under U.S. federal law except inside Oregon’s licensed-manufacturer program (commercial only) and Colorado’s Proposition 122 framework (personal-use, adults 21+, household limit). This guide walks through what each method involves and what to expect.
Key Takeaways
| What you’re growing | One of ~200 Psilocybe species. P. cubensis (Golden Teacher, B+, McKennaii, Penis Envy strains) is the most-grown. |
| Three main methods | PF Tek (jars, $30–80, beginner) · Monotub (tub, $60–150, intermediate) · Bulk substrate (multi-tub or tent, $200–500, advanced). |
| Typical cycle length | 6–12 weeks from inoculation to last flush, depending on method. |
| Expected dry yield | 5–15 g per PF Tek jar · 30–150 g per monotub · 100–500 g+ per bulk setup. See estimator below. |
| U.S. legal status | Federally Schedule I. Oregon allows licensed manufacturers only. Colorado permits personal-use cultivation for adults 21+ under Prop 122 (2025). |
| Biggest beginner mistakes | Skipping sterile technique, wrong spawn-to-substrate ratio, poor fresh-air exchange (FAE), harvesting too late (sporulation). |
| Spore legality | Psilocybin spores themselves contain no psilocybin and are legal to possess in most U.S. states (California, Georgia, and Idaho are exceptions). |
The numbers above are a summary. The framework underneath them — yields by method, contamination risk, and the surprisingly specific legal landscape — is what this guide updates for 2026.
Magic Mushroom Yield Estimator
The calculator below uses typical yield ranges from published mycology sources and community-reported data to estimate a likely harvest from a given setup. It is an educational tool, not a guarantee — actual results vary with strain, substrate quality, humidity, fresh-air exchange, and grower experience.
Yield Estimator
Estimate fresh weight, dry weight, and number of flushes from your method, substrate volume, and strain.
Educational estimate. Yields are ranges, not guarantees. Cultivation of psilocybin mushrooms remains illegal under U.S. federal law and most state laws — see the legal section below. Not legal advice.
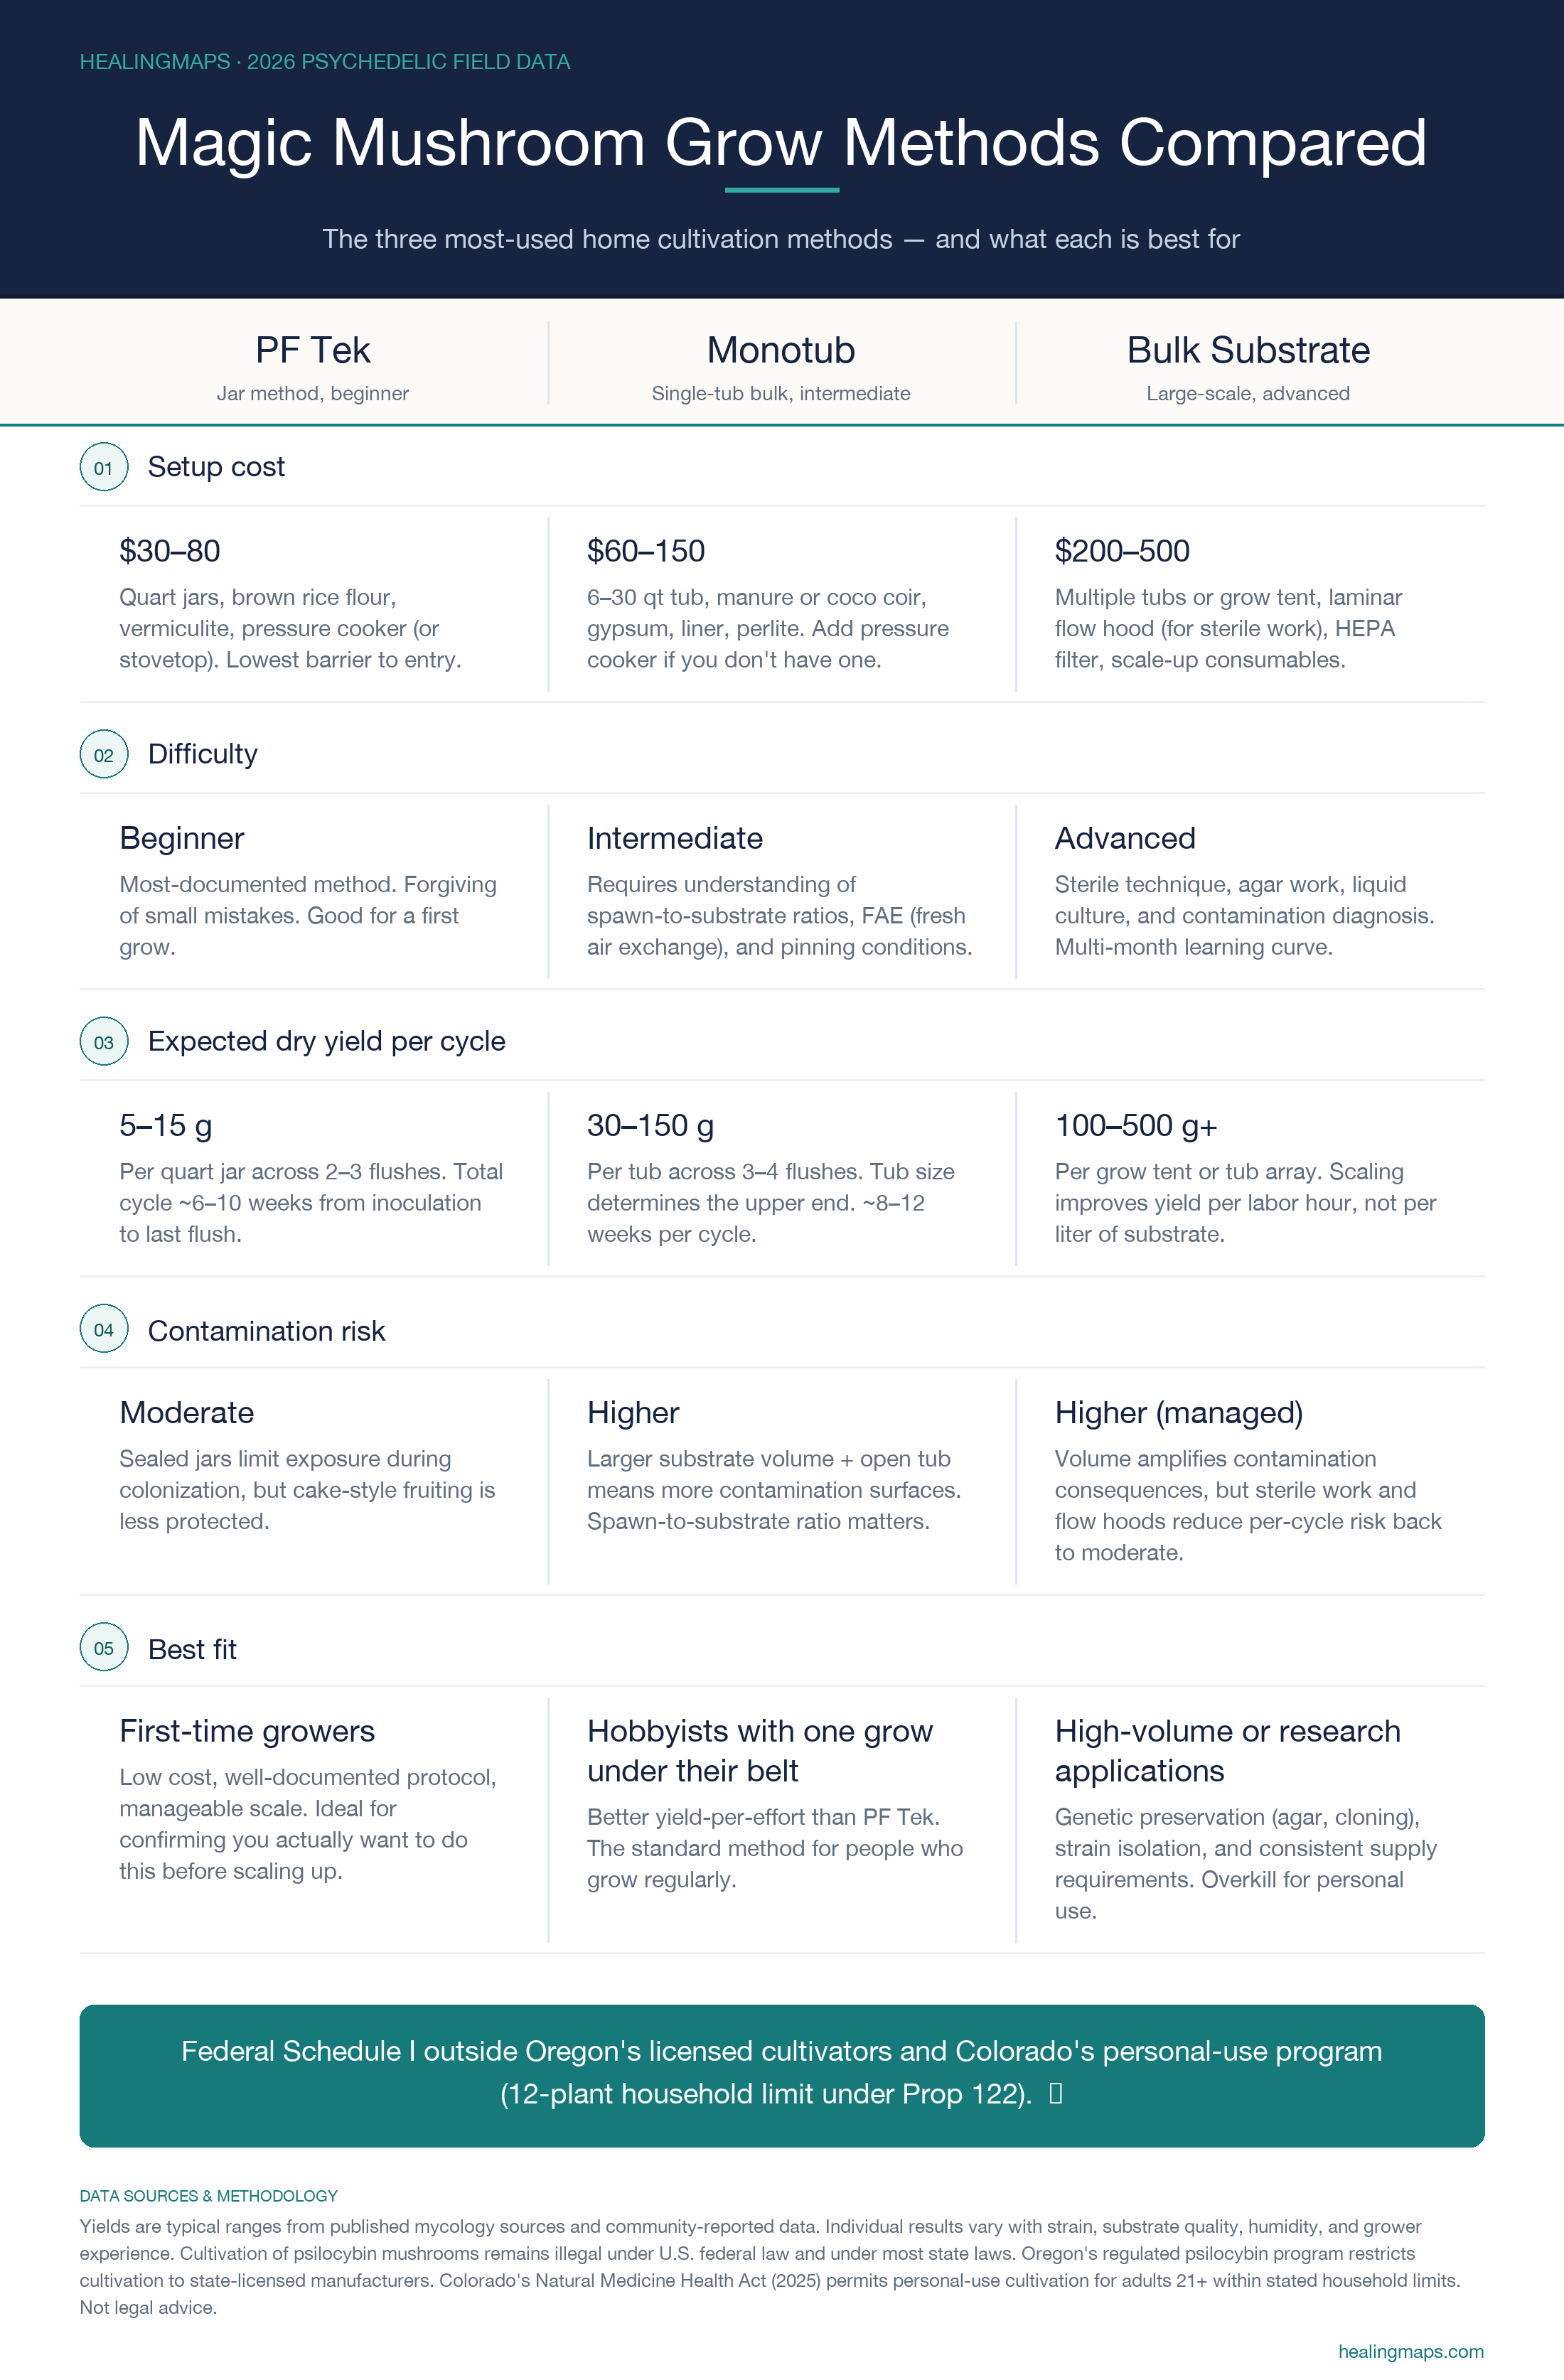
Grow Methods Compared at a Glance
The three main home cultivation methods sit on a clear difficulty/yield/cost curve. PF Tek is the on-ramp; monotub is where most regular growers settle; bulk and tent setups are for high-volume or research-grade work. The comparison below summarizes the differences across the dimensions that matter most when picking a method.
The full step-by-step process for each method follows. Skip ahead to the legal section if you only need the 2026 status.
Do you want to know how to grow magic mushrooms? Well, you’re certainly not alone. More people seem to be interested in doing so, which may be explained by the following factors:
- More interest in the benefits of magic mushrooms
- Cost-saving potential
- The proliferation of growing guides and magic mushroom grow kits
- The changing legal landscape: Over time, more U.S. cities are deciding to decriminalize magic mushrooms
If you’ve decided you want to grow magic mushrooms, we’ve compiled a step-by-step guide that will allow you to do this successfully. Growing psilocybin mushrooms at home can be extremely cost-efficient, as well as a fulfilling project to undertake. However, there may be legal risks associated with doing it, depending on where you live.
Interested in joining a Psychedelics Clinical Trial? Sign up here now and we will connect you with a clinical trial in your area when one becomes available.
How To Grow Magic Mushrooms At Home
Let’s now delve into all the steps you need to take to grow magic mushrooms. This guide will suit beginners: those who’ve never grown shrooms before.
You should expect the whole process to take 4-6 weeks, by which time you’ll have a batch ready for consumption.
RELATED: Do Shrooms Show Up On A Drug Test?
Choose Your Mushroom
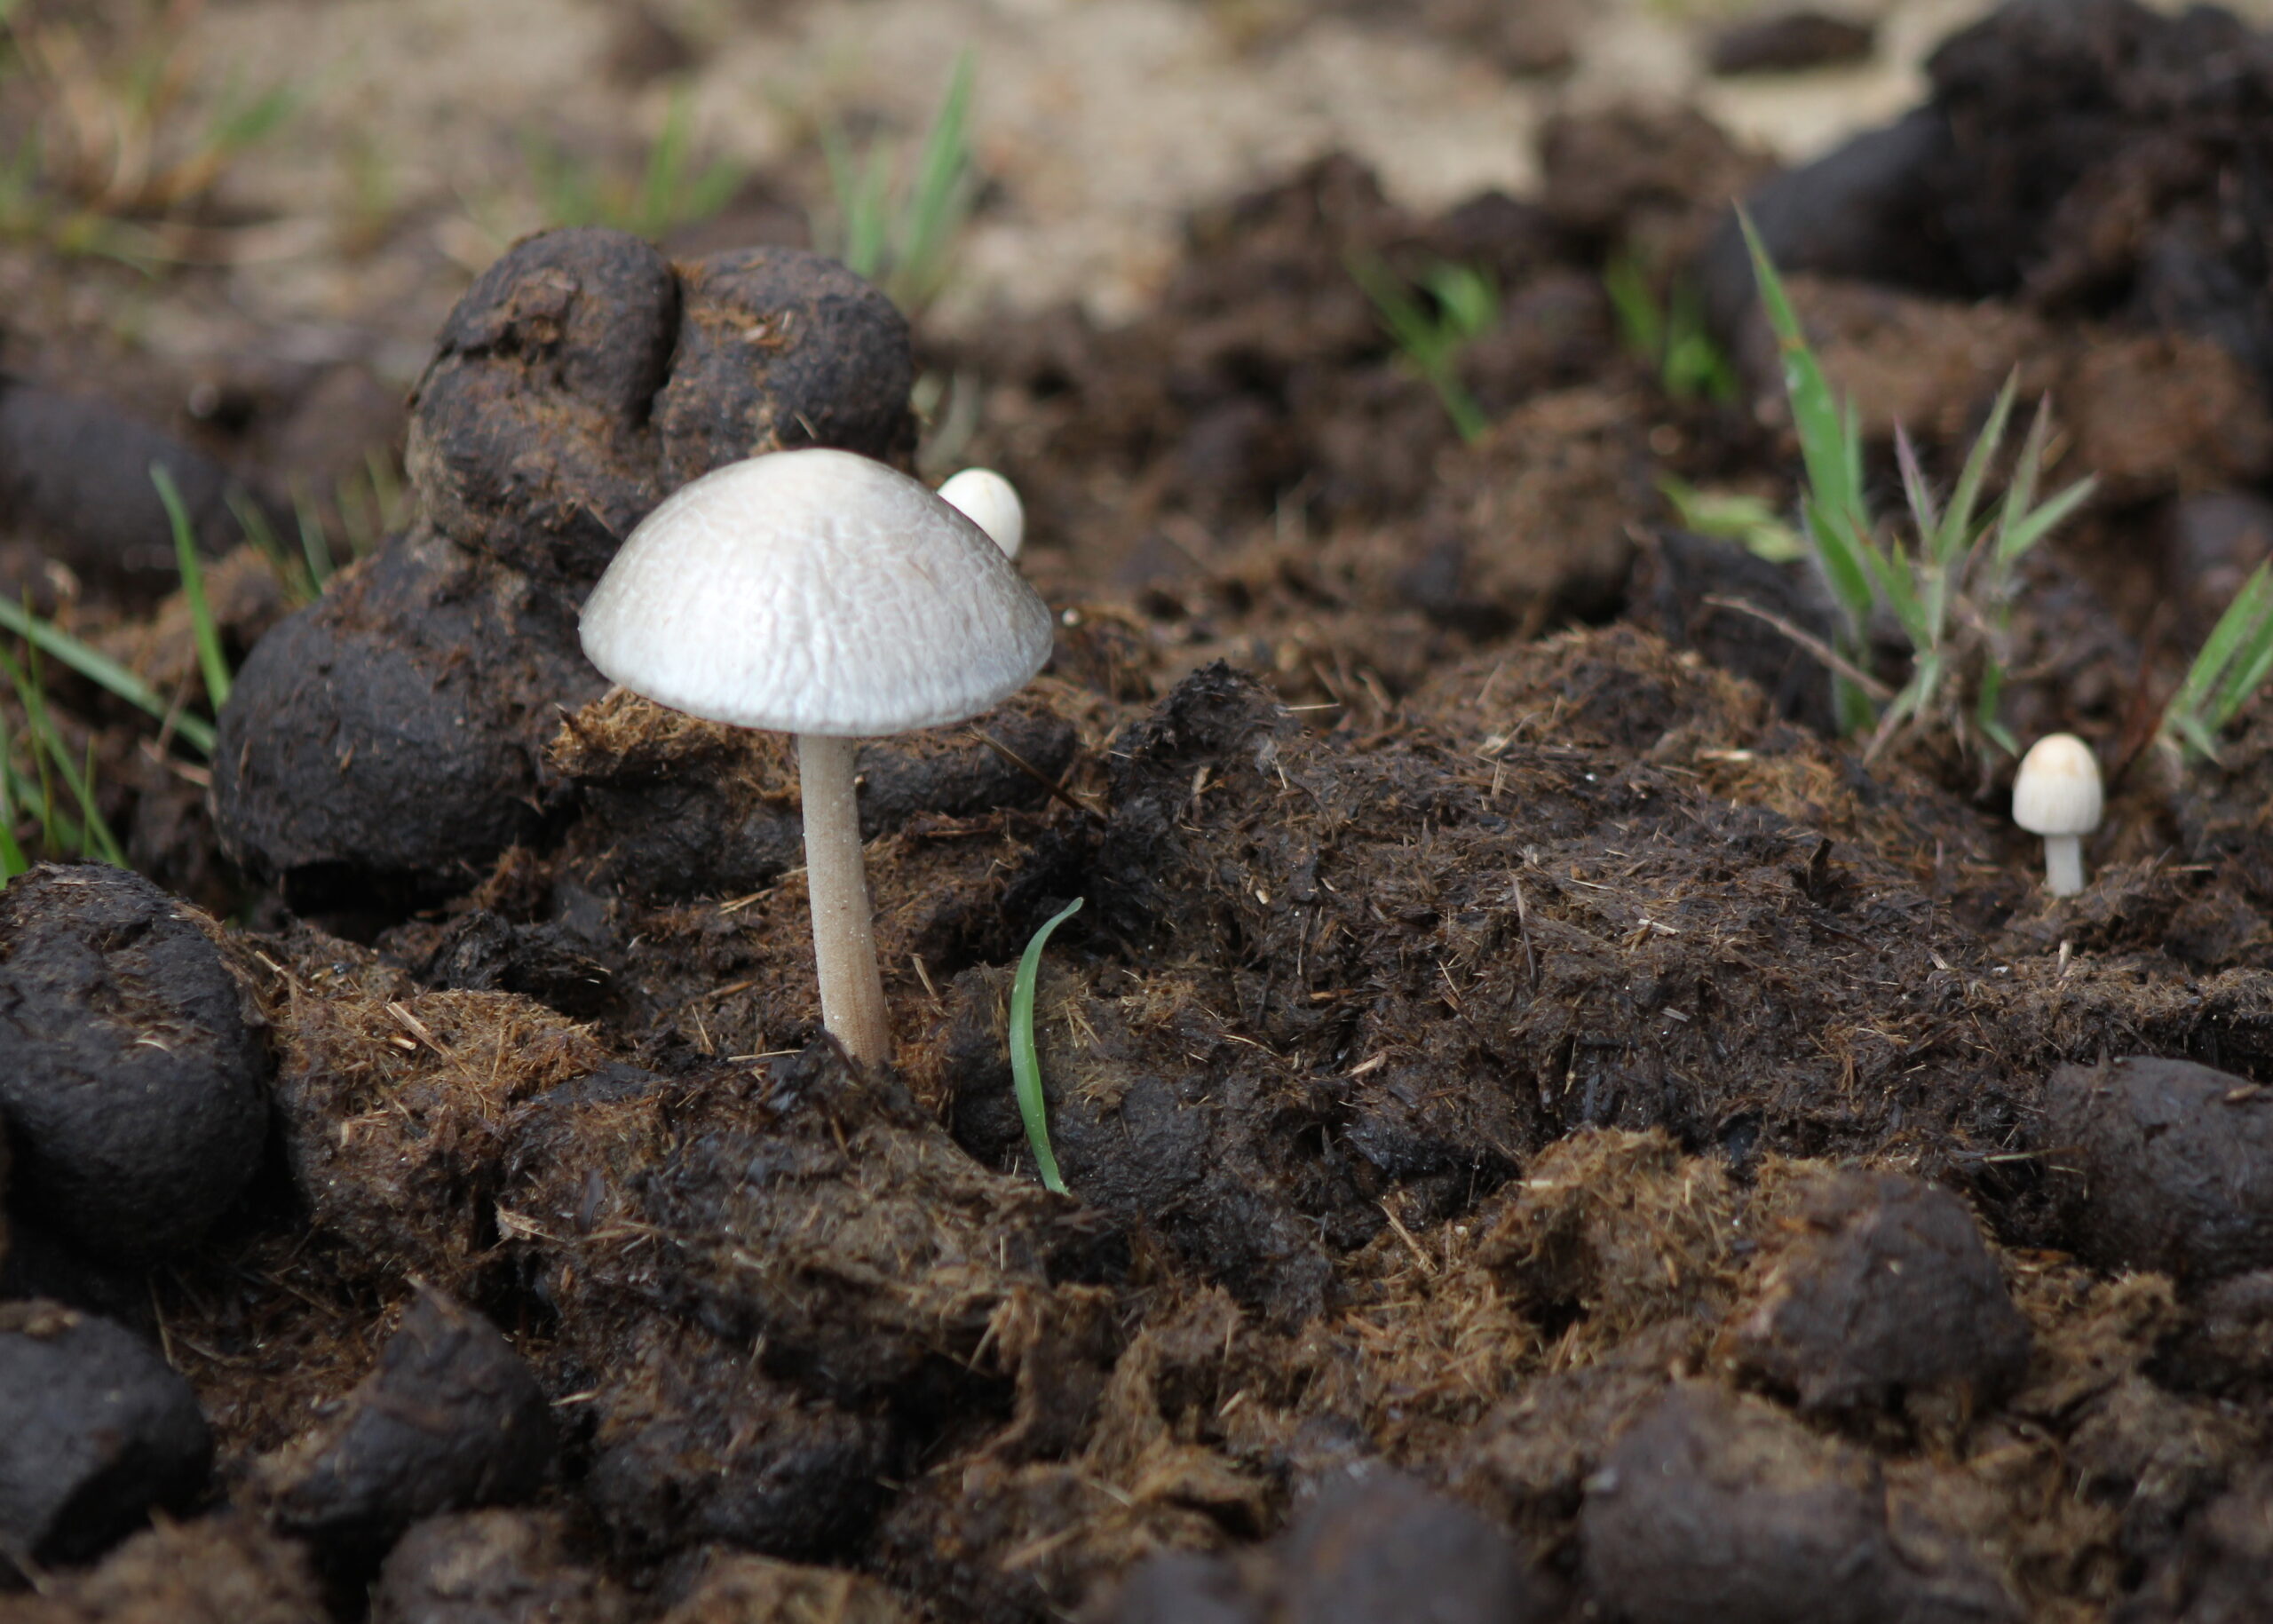
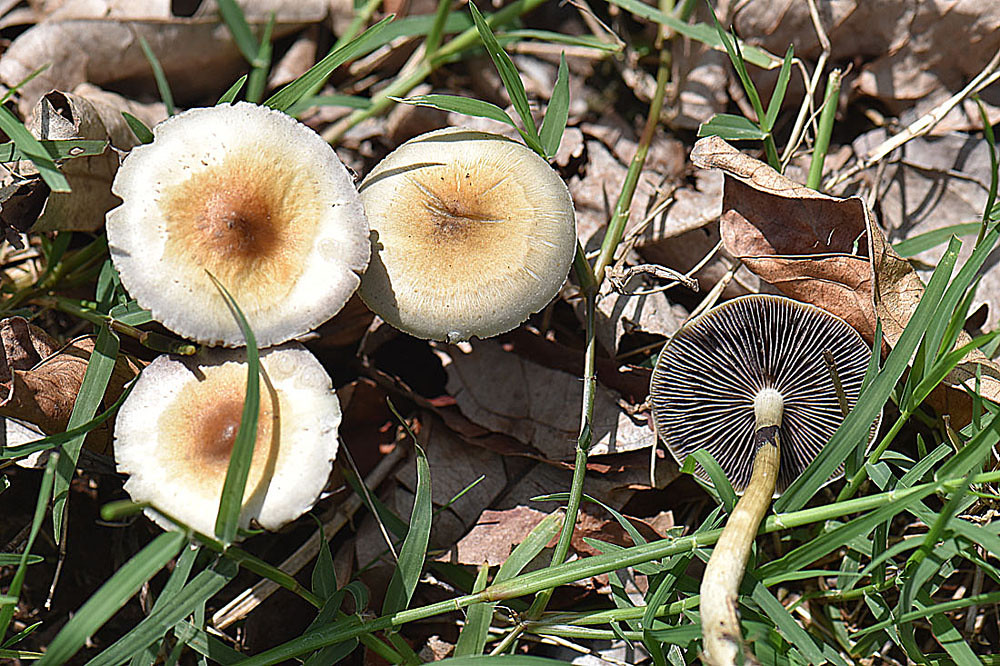
First, you want to decide which type of mushroom you want to grow. There are around 180 species in nature, although only some of these will be available to buy as magic mushroom spores — the reproductive cells that can grow into mushrooms. You can also buy varieties of individual species found in nature.
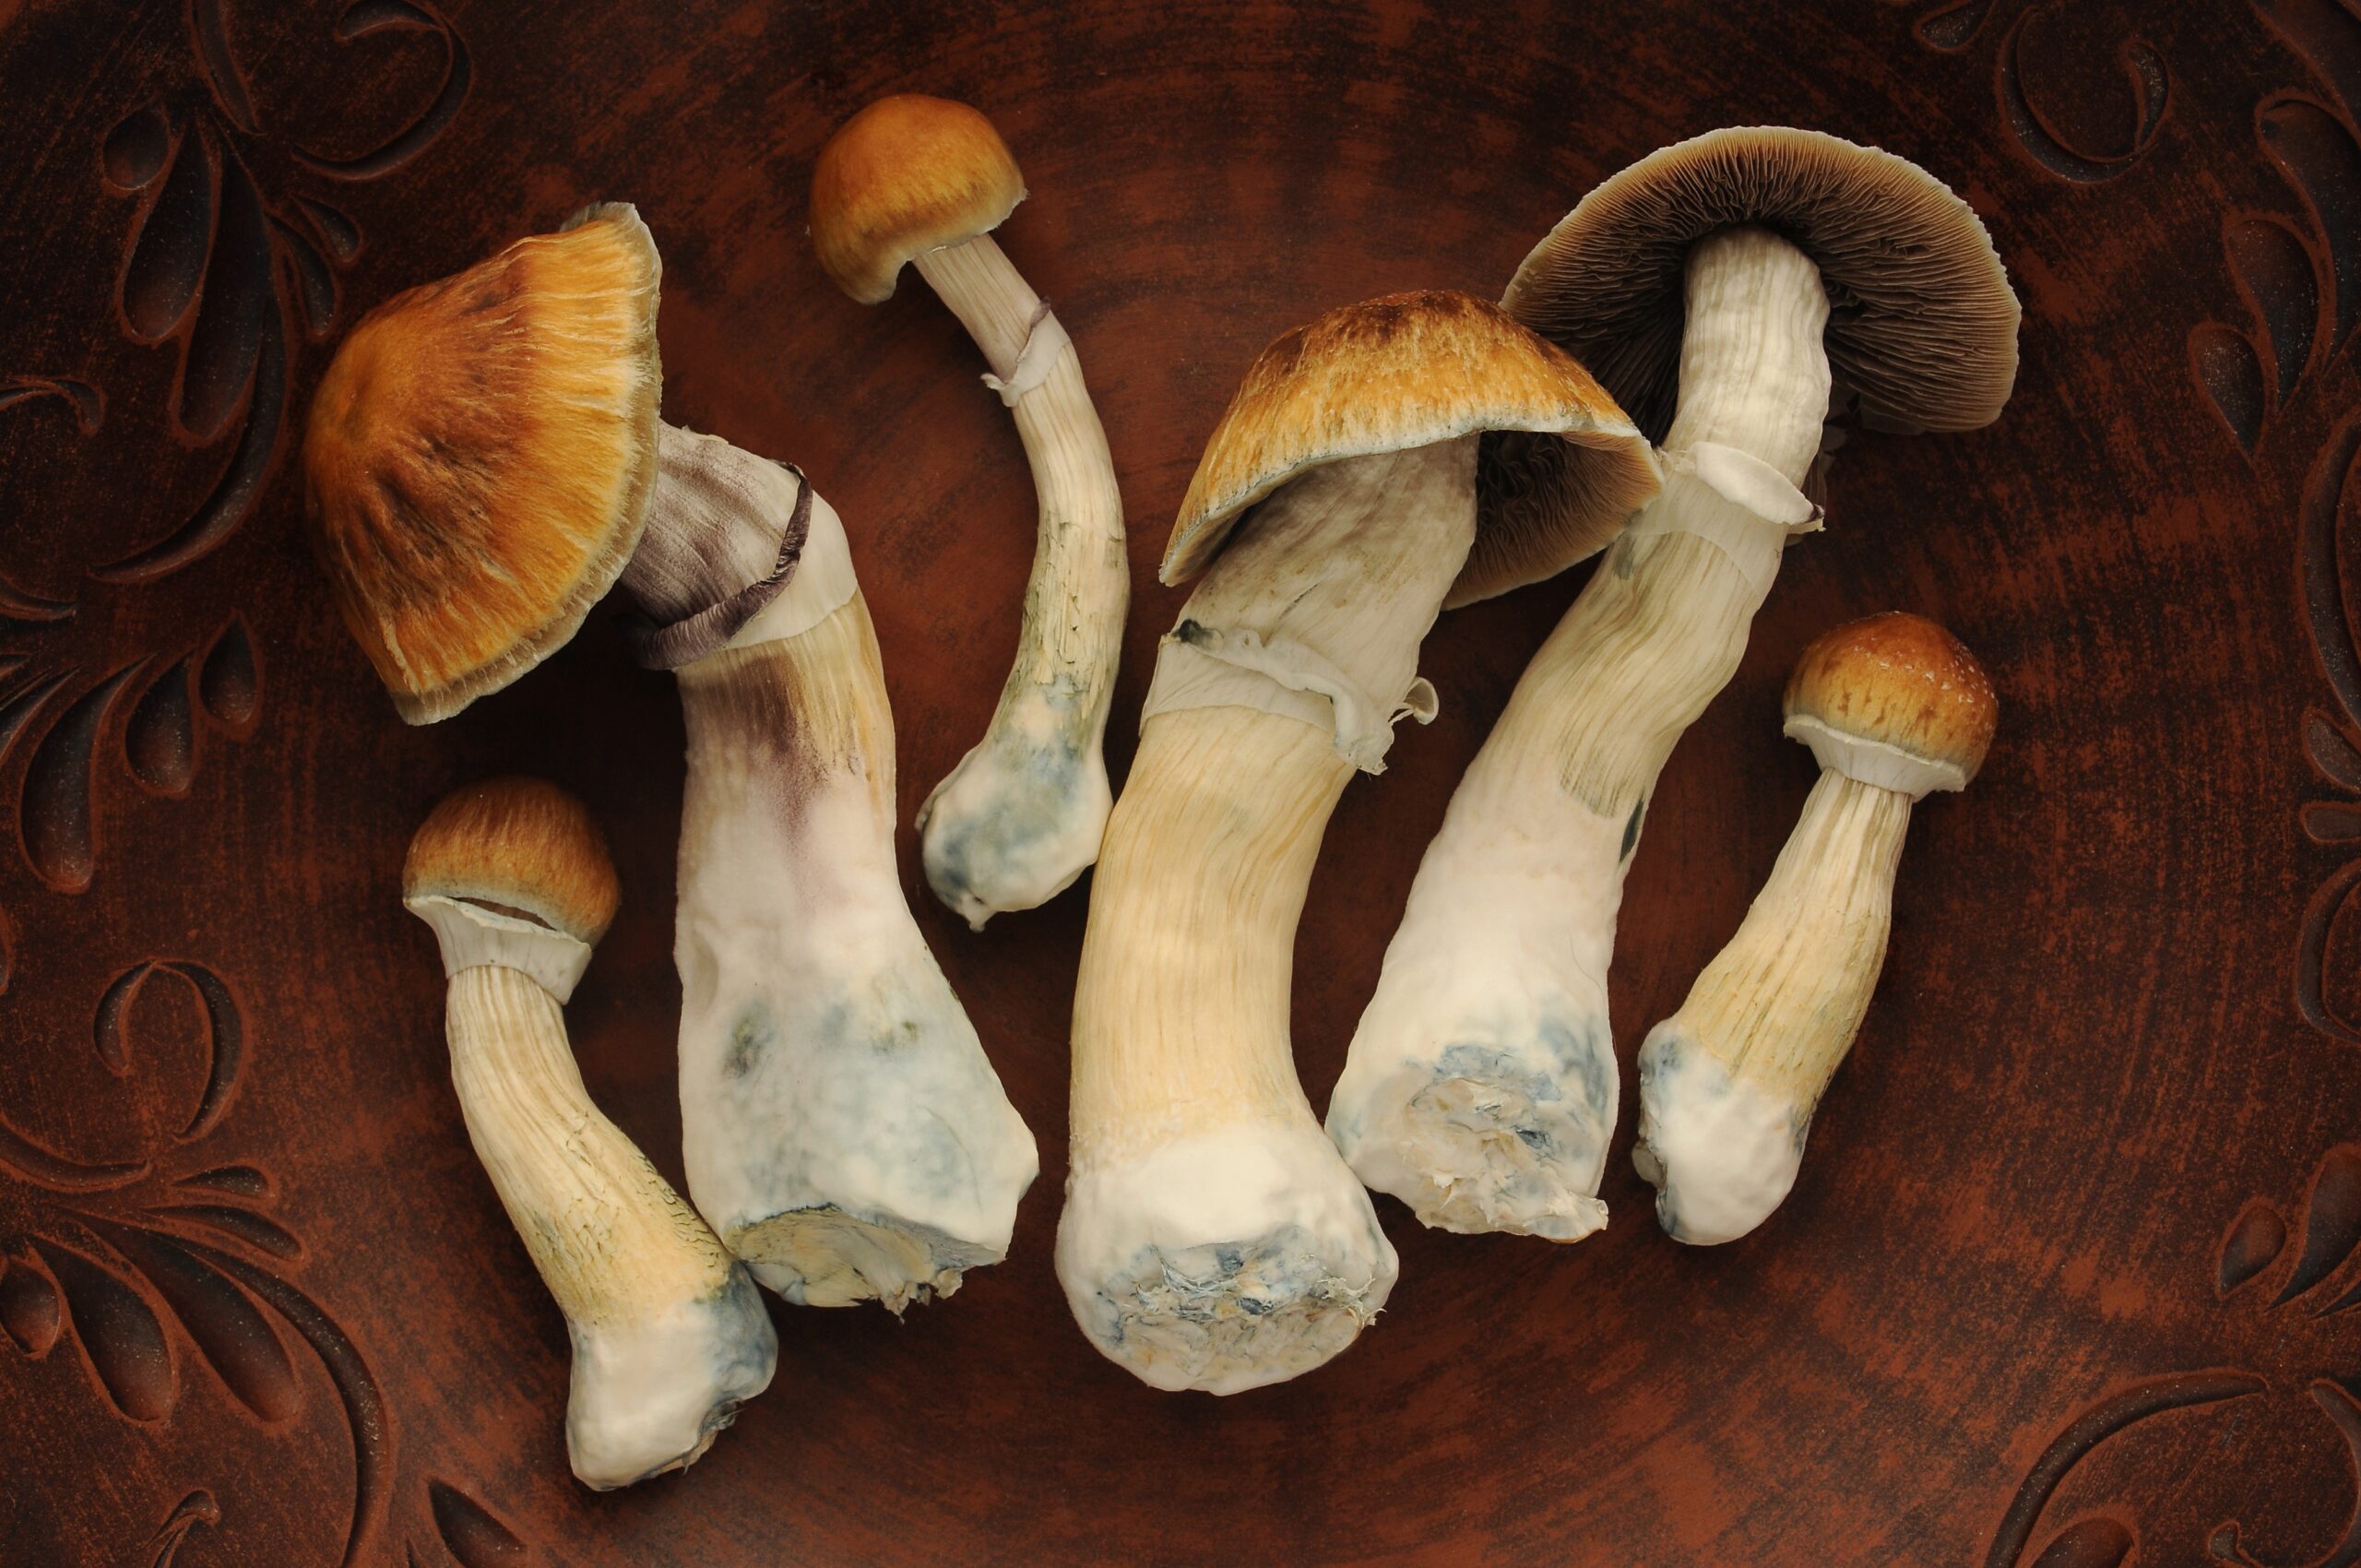
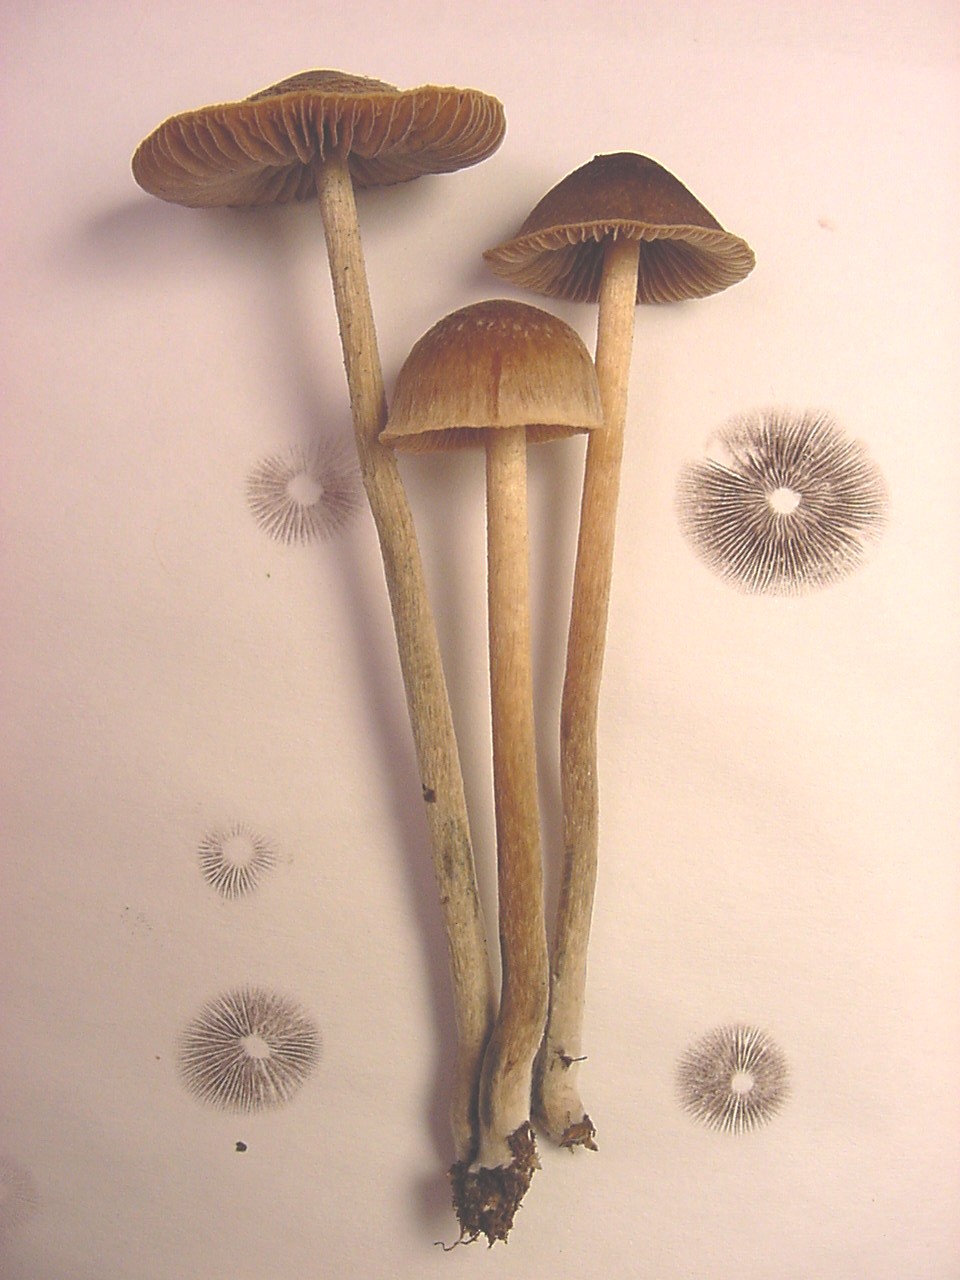
The strains and species above can differ significantly in potency, so choose one that appeals to you and adjust your dosage accordingly.
Cultivating the most common species of magic mushroom – Psilocybe Cubensis – is easy; once you get the hang of it. We teach you at three different levels: beginner, intermediate, and expert.
But let’s first start with a glossary for how to grow magic mushrooms.
RELATED: These are the 6 Best Mushrooms Growing Kits
The Growing Magic Mushrooms Glossary
Agar: A gel-like substance derived from seaweed that is used to cultivate mushroom mycelium on petri dishes or in test tubes.
Autoclave: A device that uses steam under pressure to sterilize equipment and materials for mushroom cultivation.
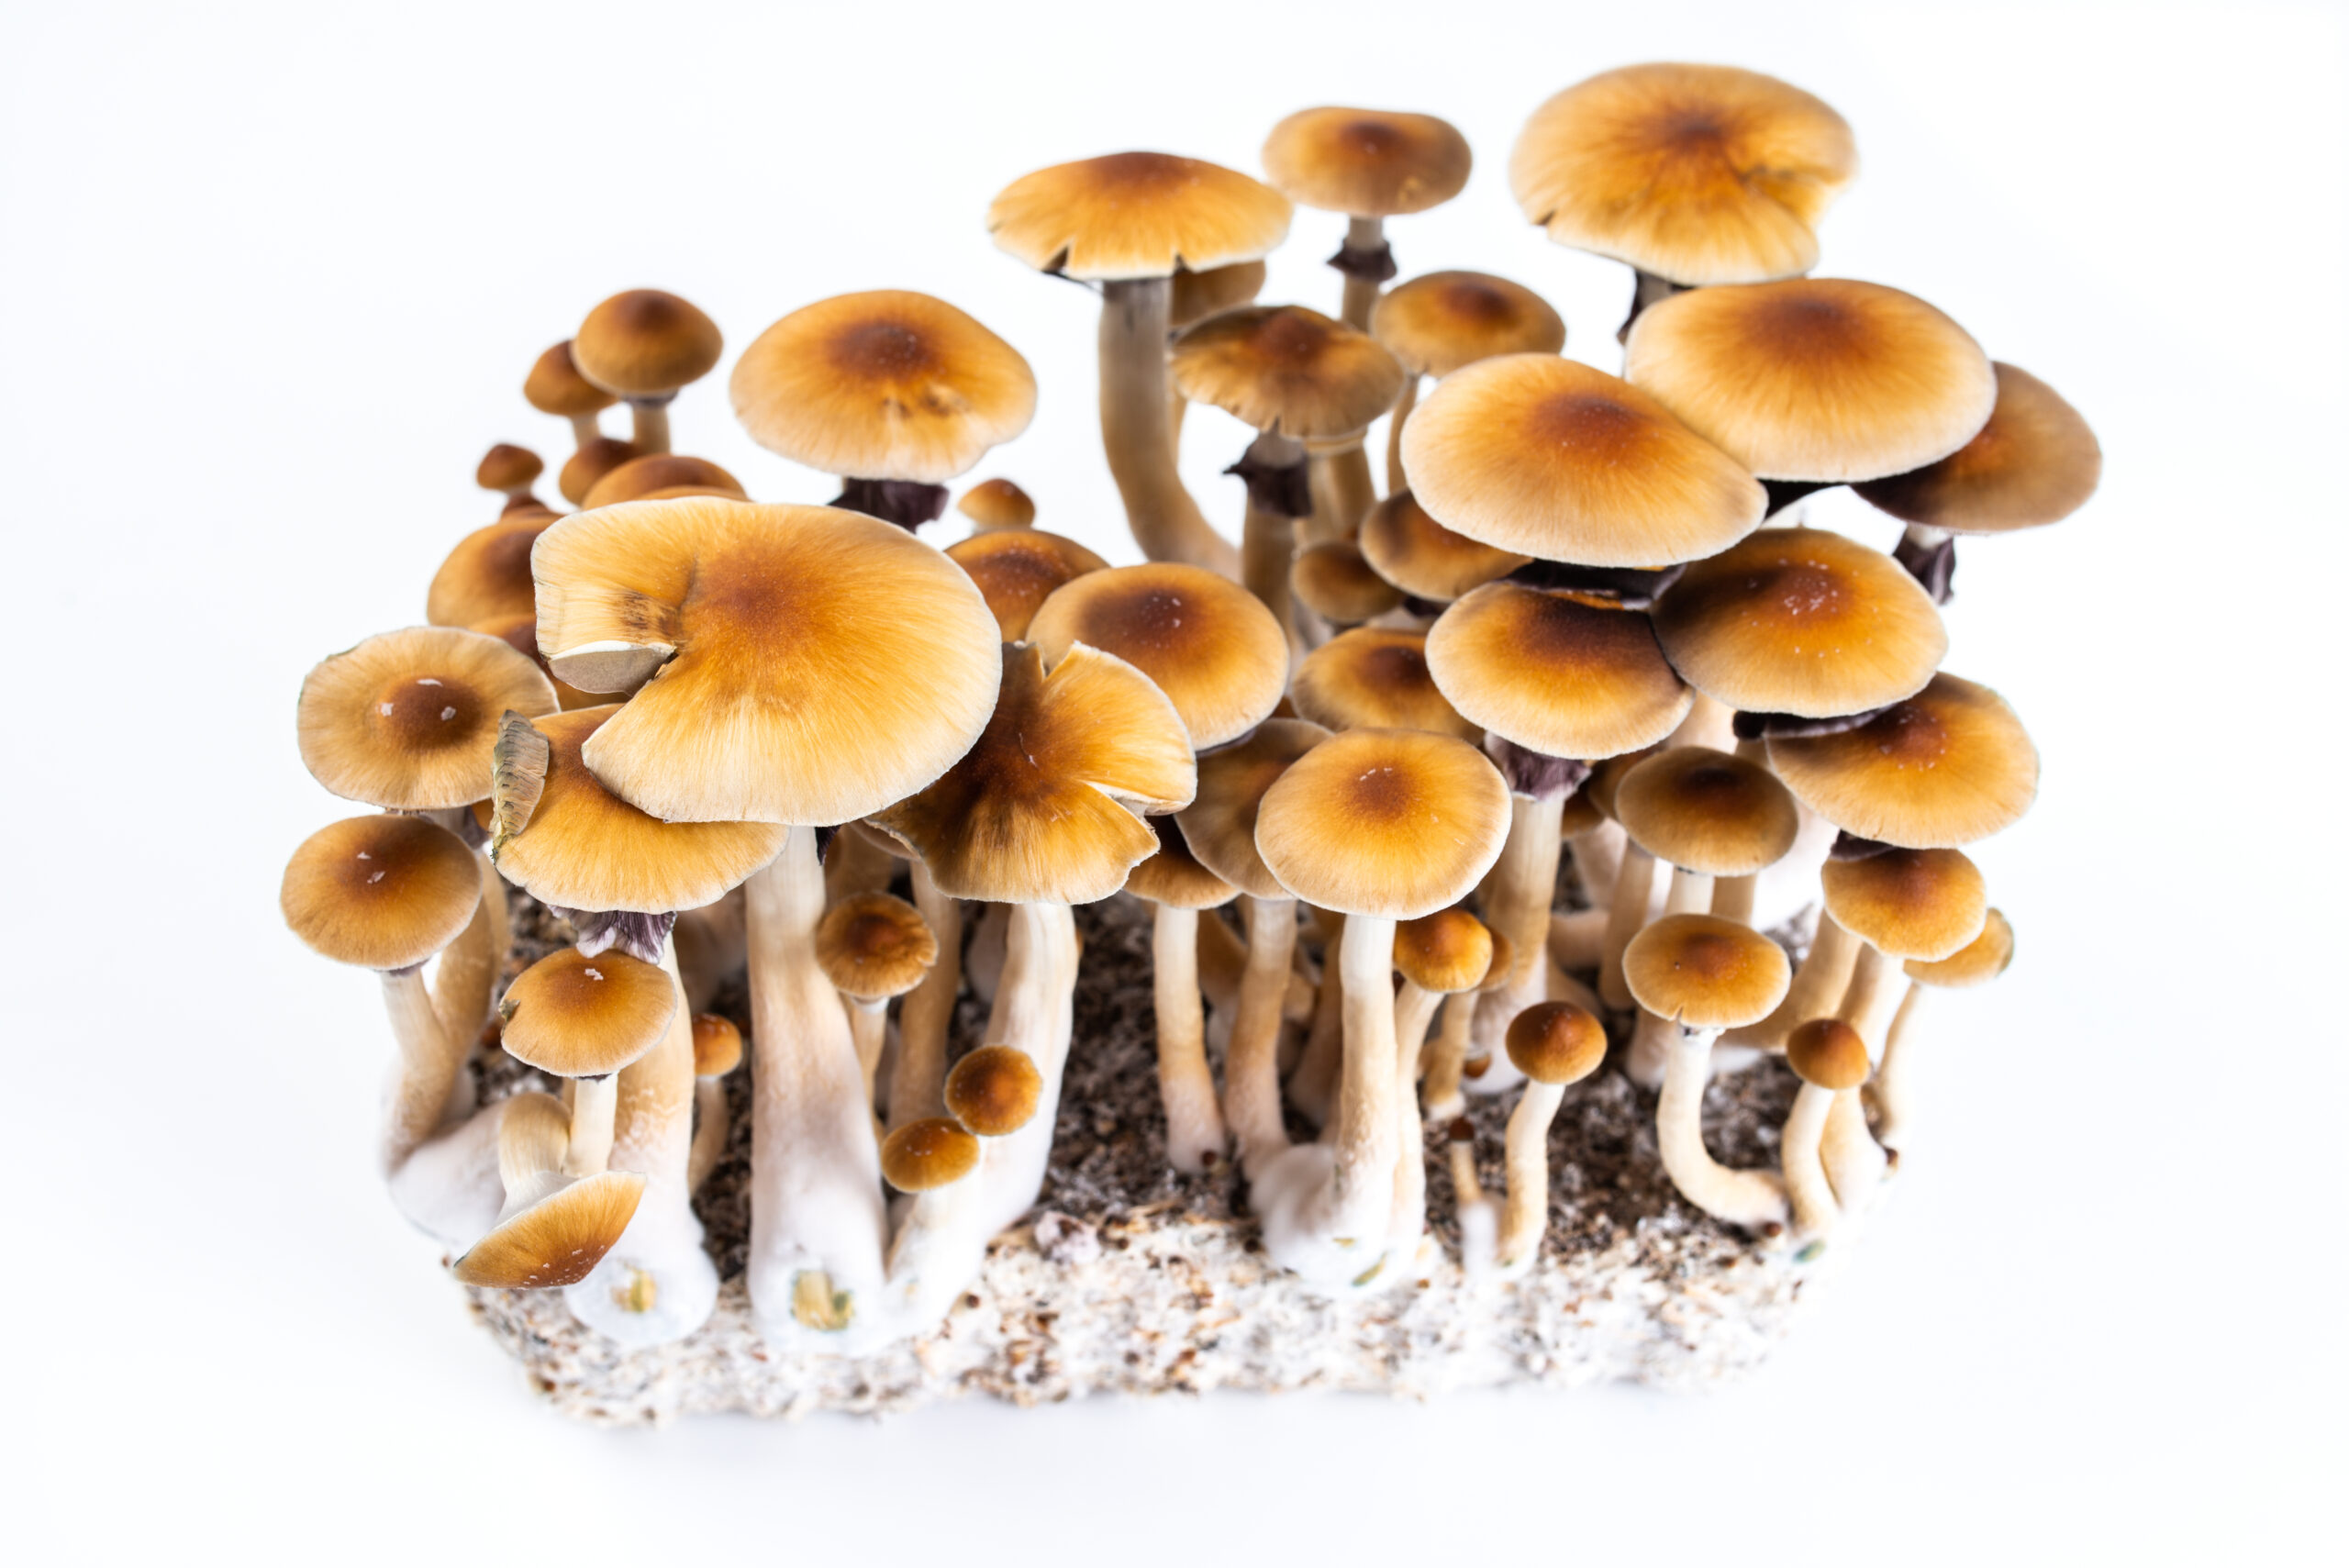
Cake: In mushroom cultivation, a “cake” refers to a compact, nutrient-rich substrate block that is colonized by mycelium.
Cloning: The process of taking a tissue sample from a selected mushroom specimen and transferring it to agar or another sterile medium to create an identical genetic copy.
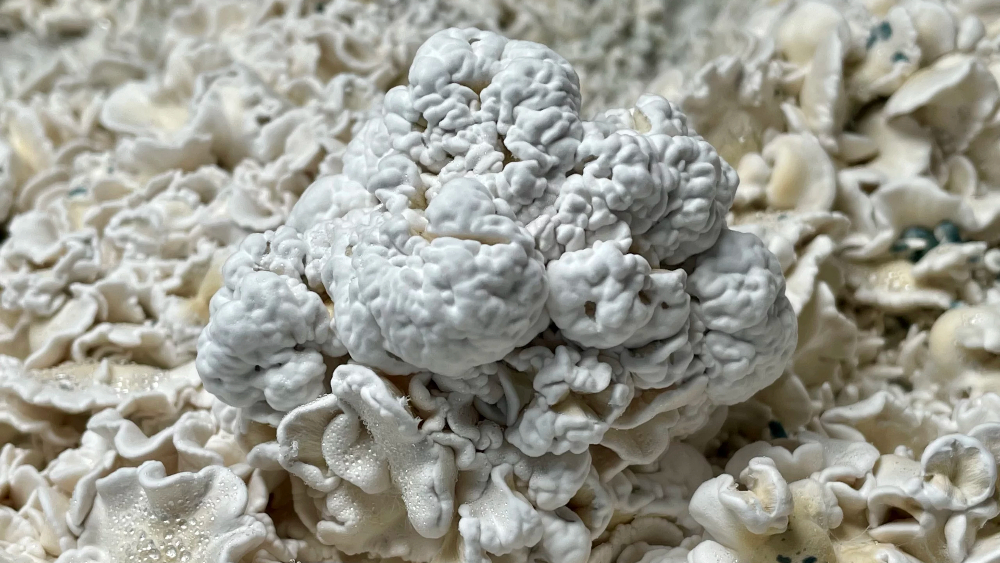
Colonization: The process of mycelium growing and spreading throughout the substrate.
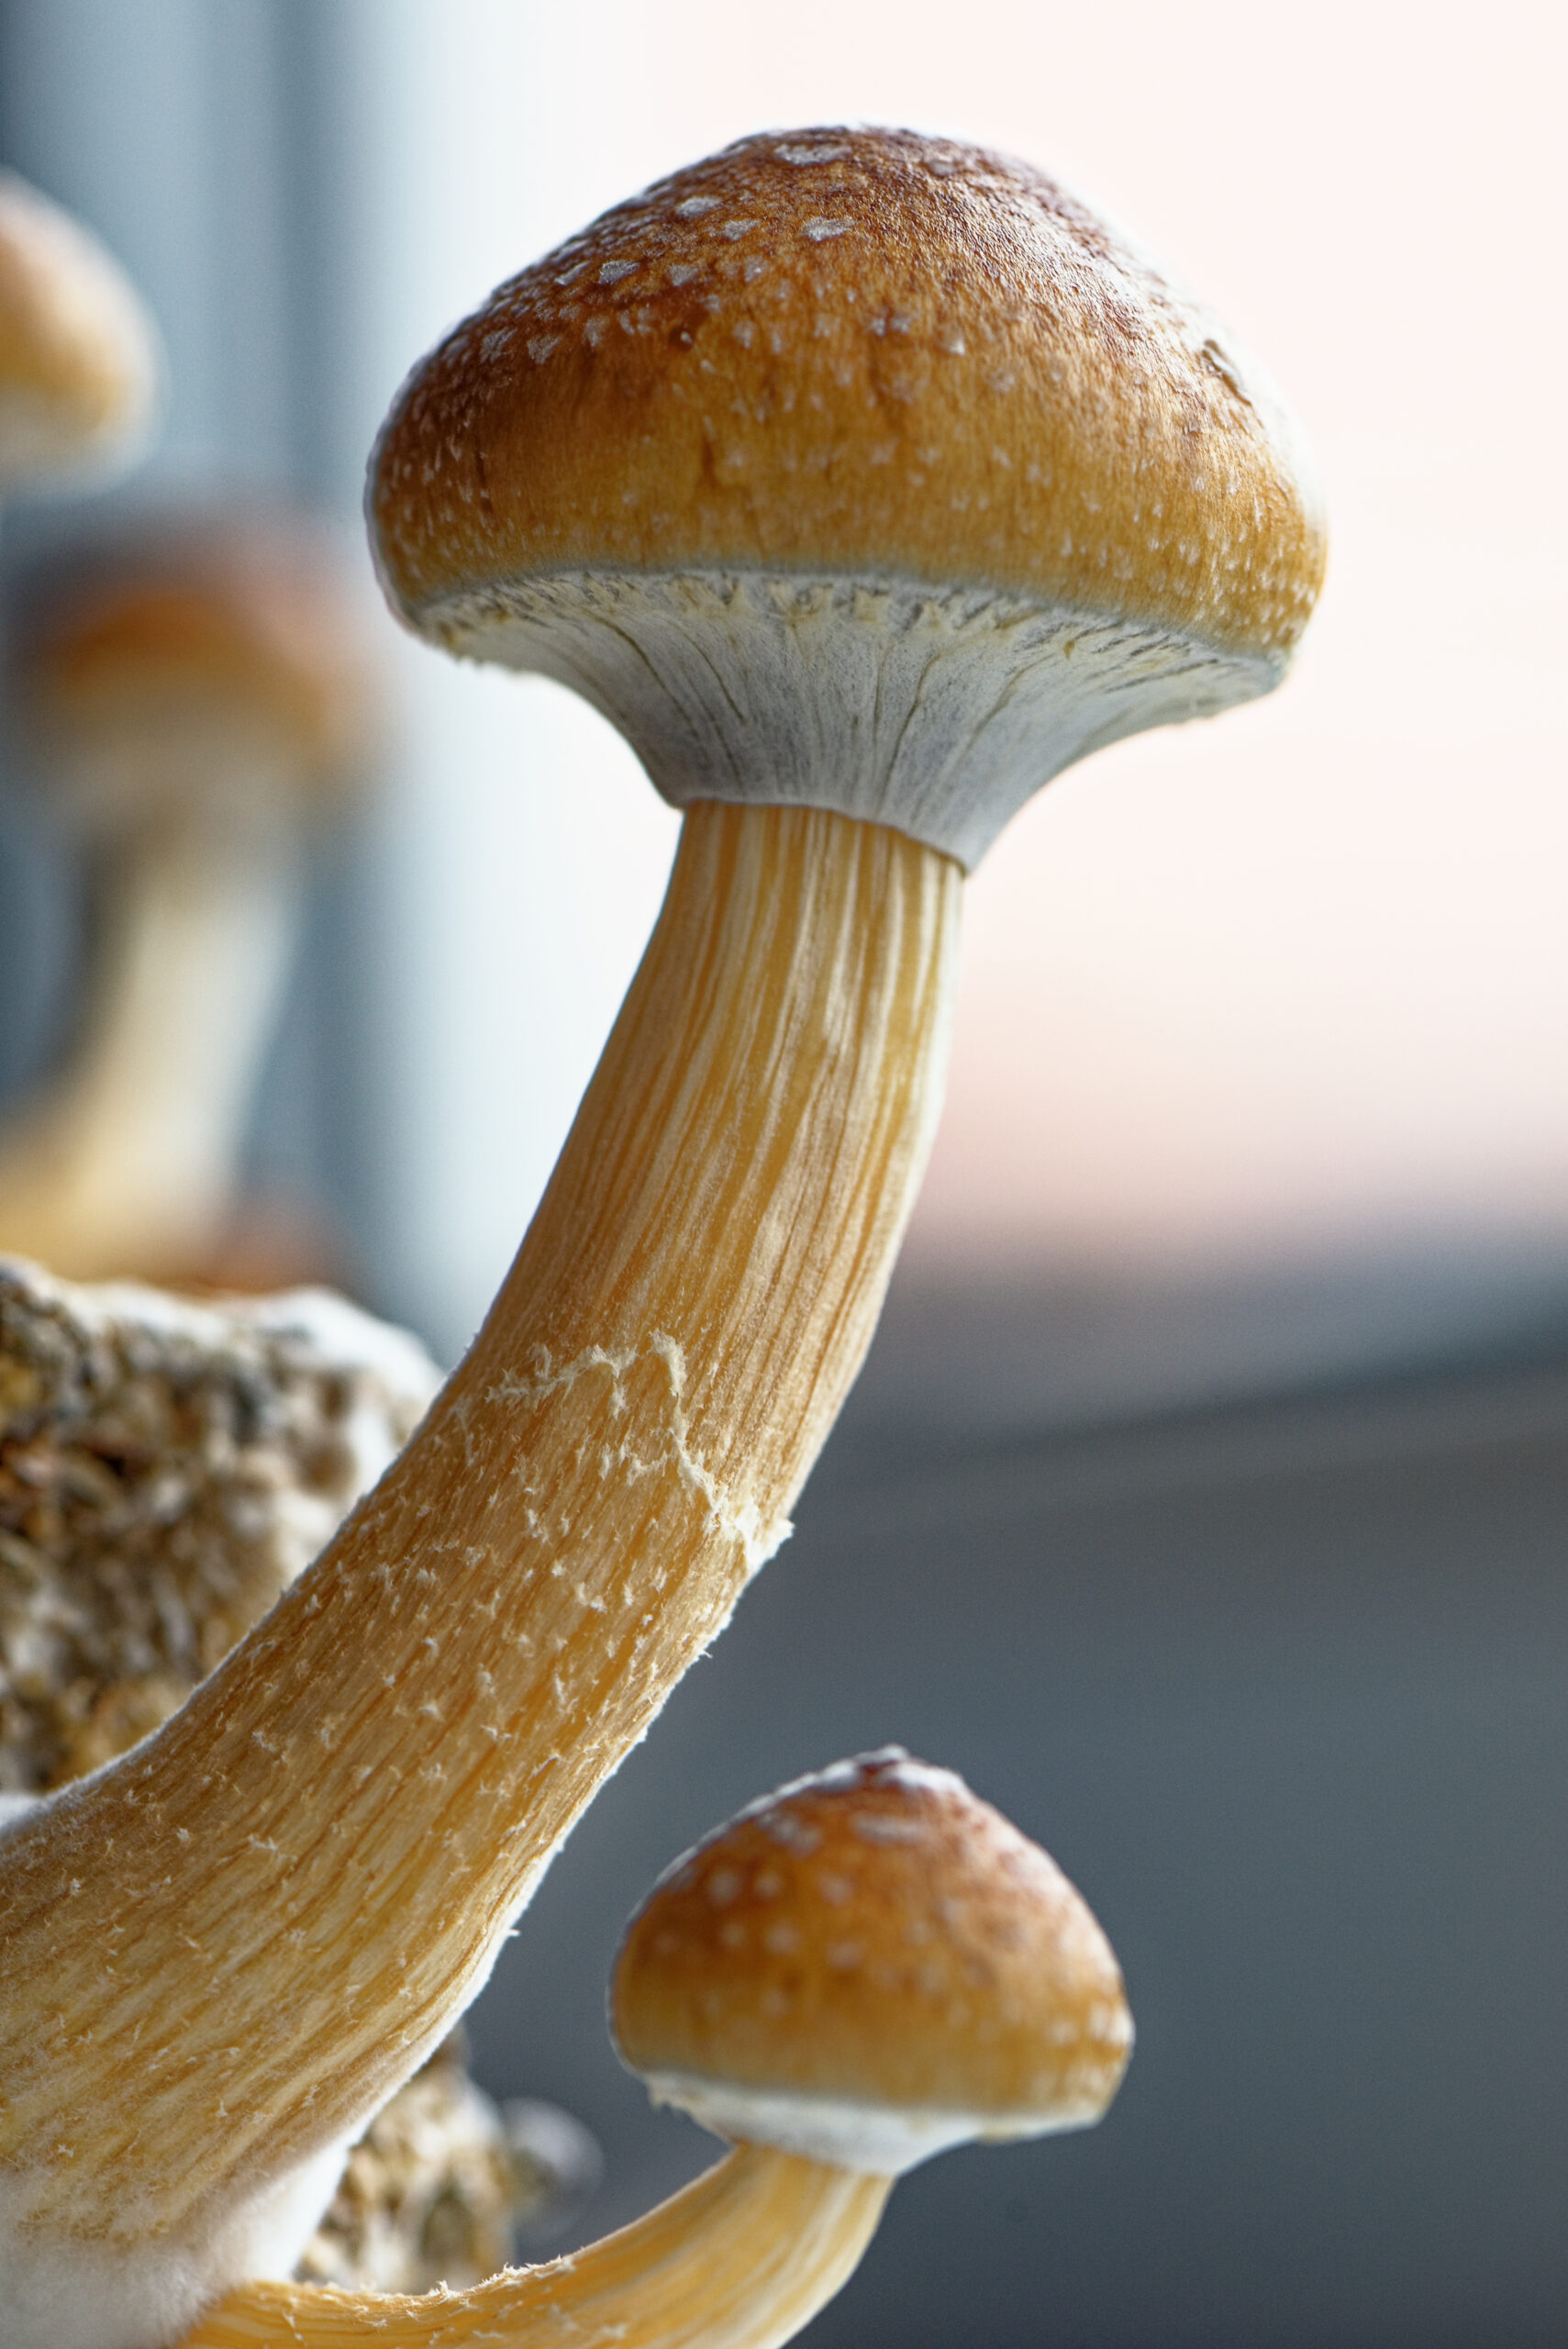
Fruiting: The stage of mushroom growth when the mycelium produces fruiting bodies (mushrooms).
Gas exchange: The process of allowing fresh air to enter a growing container while expelling carbon dioxide produced by the mycelium.
Grain to Shoebox TEK: An intermediate method for growing mushrooms that involves using grains as a substrate, colonizing them with mycelium, and then transferring them to shoebox-sized containers with a bulk substrate for fruiting.
Hygrometer: An instrument used to measure humidity levels in the growing environment.
Inoculation: The process of introducing spores or mycelium into a sterilized substrate to begin colonization.
Laminar flow hood: A device used in advanced mushroom cultivation to create a sterile environment for inoculation and other procedures by providing a constant flow of filtered air.
Liquid culture: A liquid medium containing nutrients and live mycelium, used to inoculate substrates.
Monotubs: Large, sealable plastic containers used in advanced mushroom cultivation for fruiting.
Mycelium: The root-like part of a fungus, consisting of a mass of thread-like structures called hyphae that intertwine below the surface of the ground, or in substrate.
Pasteurization: A heat treatment process used to kill harmful microorganisms and reduce the risk of contamination in substrates.
RELATED: Hypha Labs’ Psilocybin Bioreactor Will Change Mushroom Growing Forever
PF TEK: A popular beginner method for growing mushrooms, which stands for “Psilocybe Fanaticus Technique,” named after Robert McPherson (his online persona was “Psilocybe Fanaticus) who developed it.
Pins: Small, initial mushroom formations that eventually grow into mature fruiting bodies.
Spore syringe: A sterilized syringe containing a suspension of mushroom spores in water, used for inoculation.
Substrate: A material that provides nutrients and a growing medium for mushroom mycelium.
Thermometer: An instrument used to measure temperature in the growing environment.
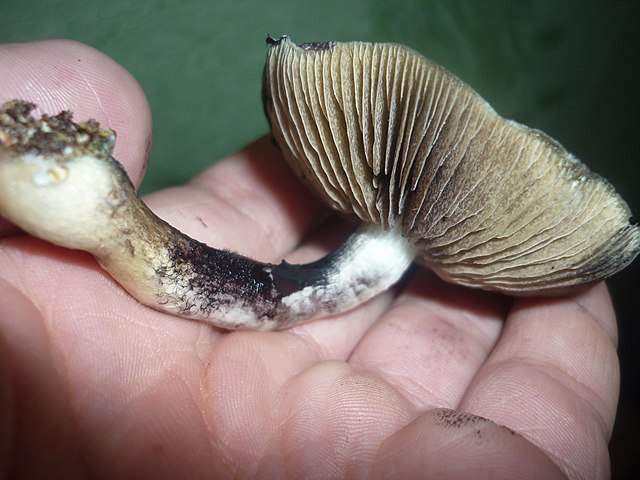
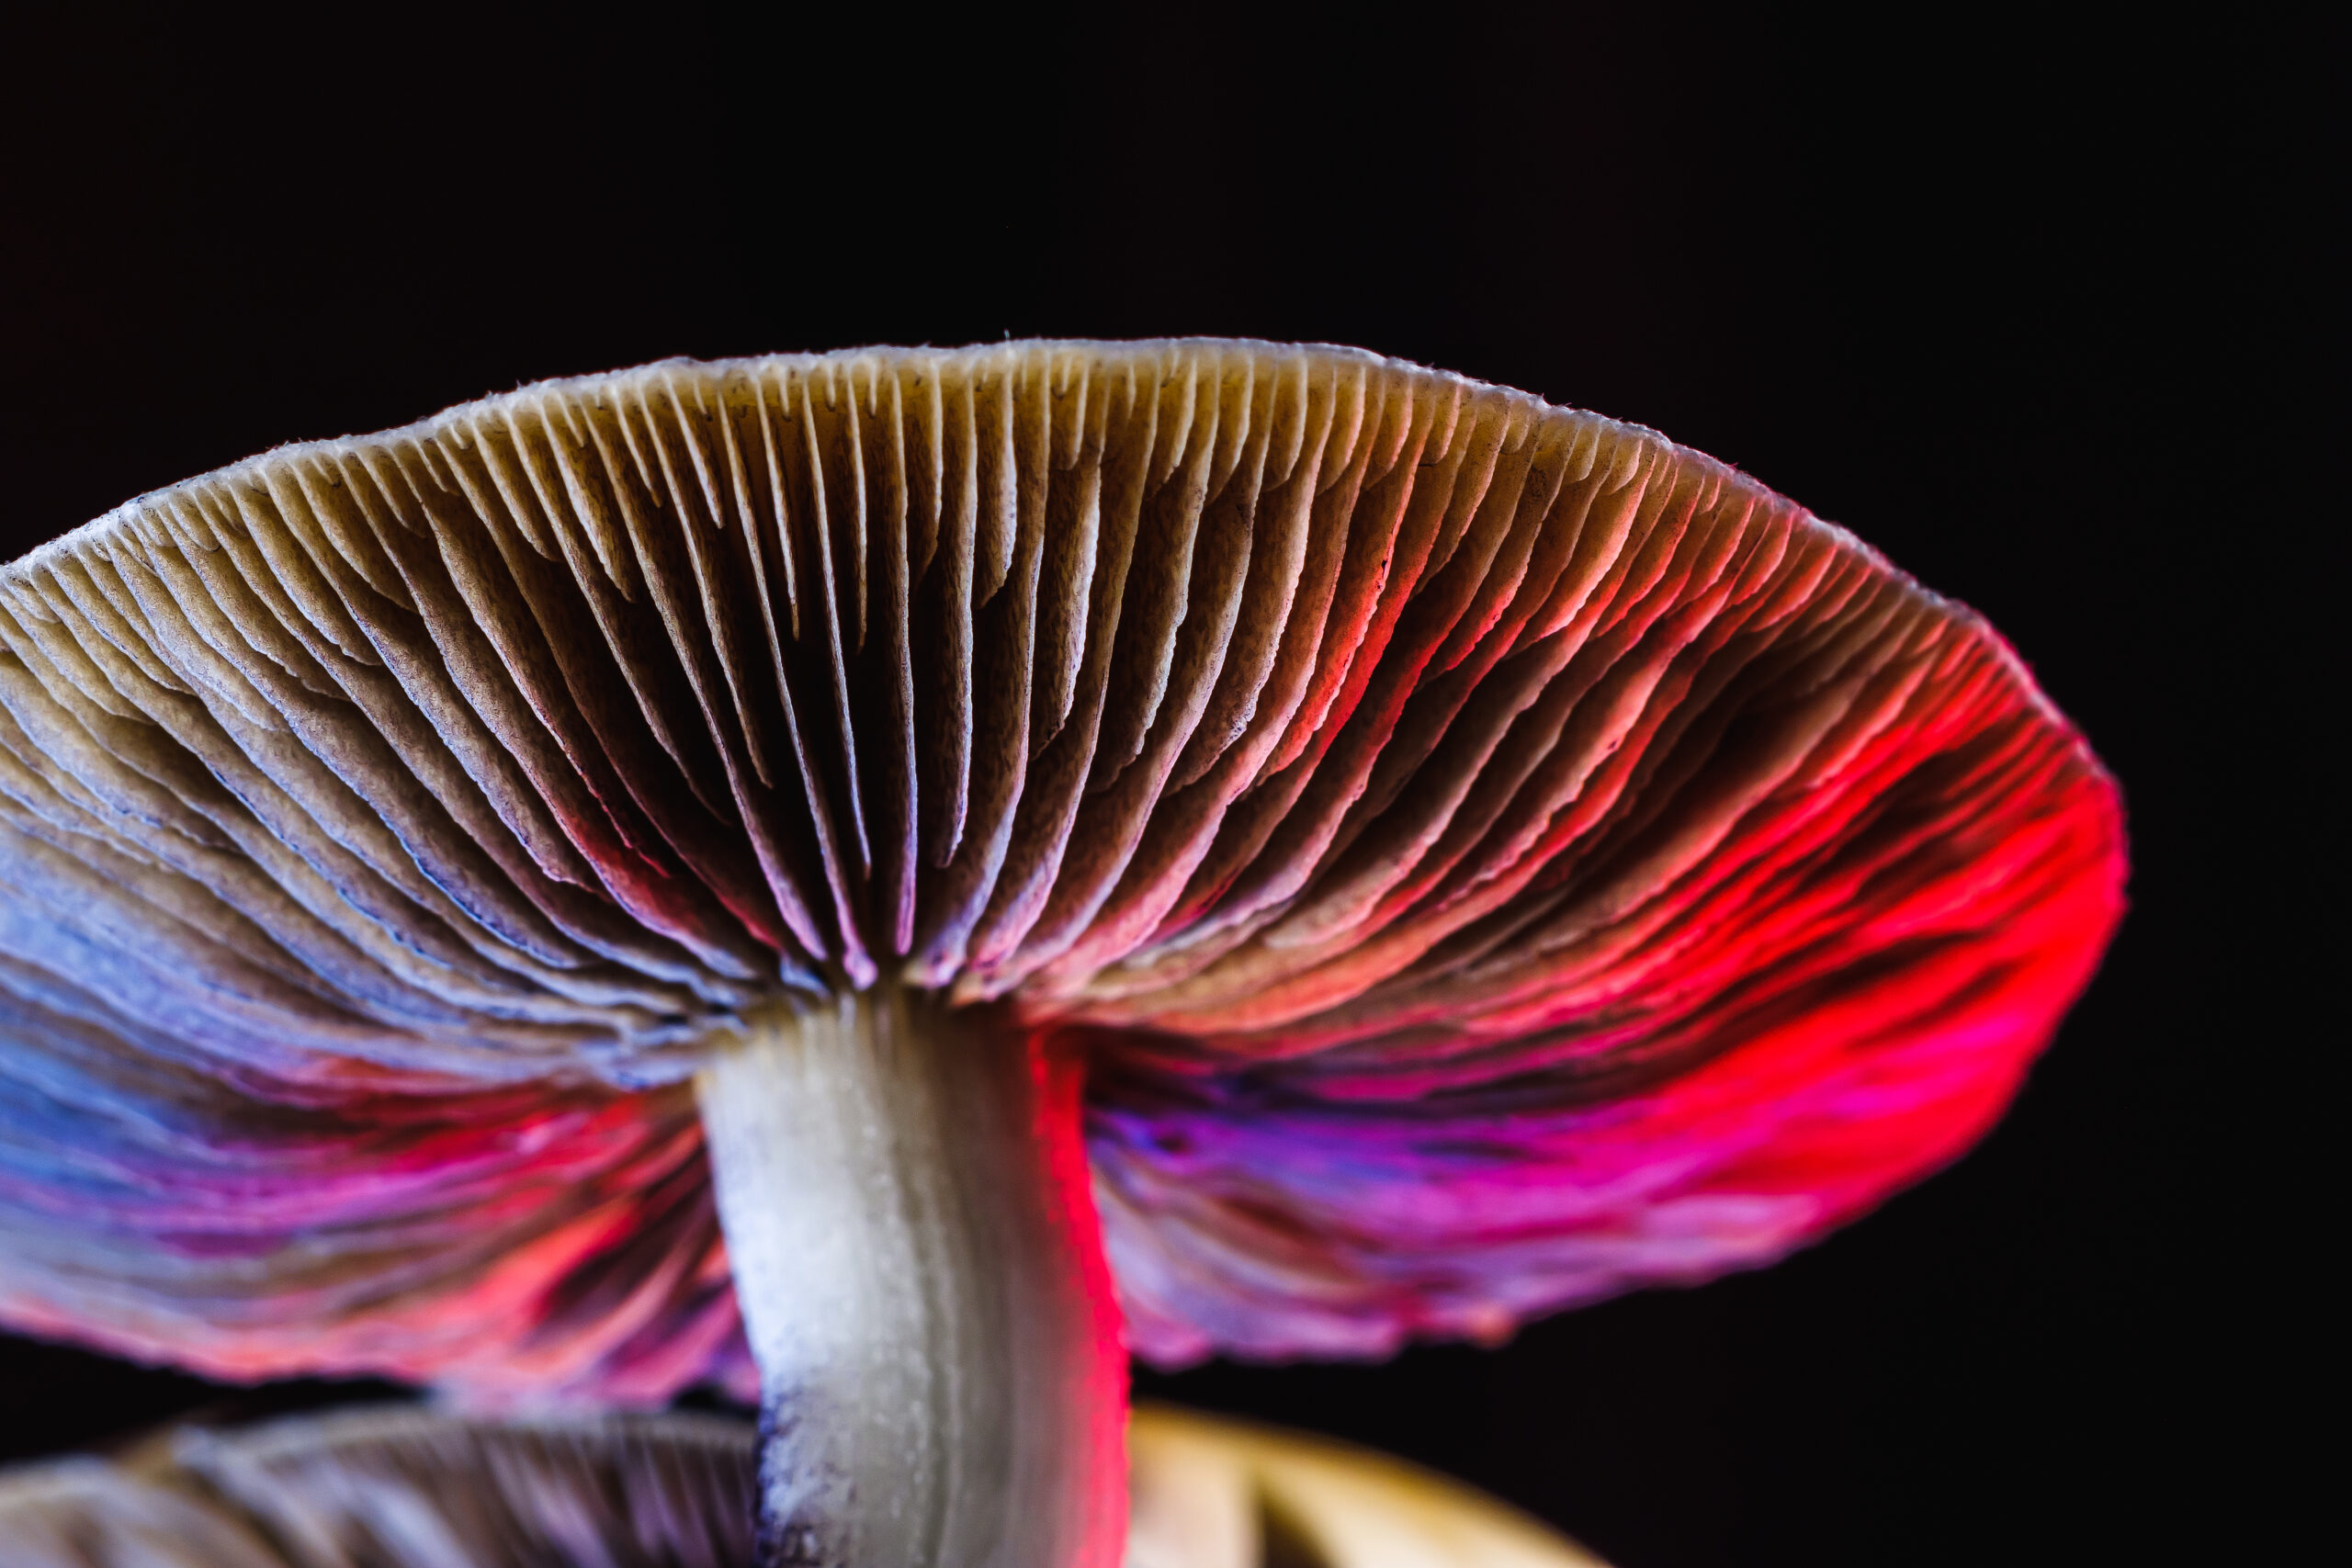
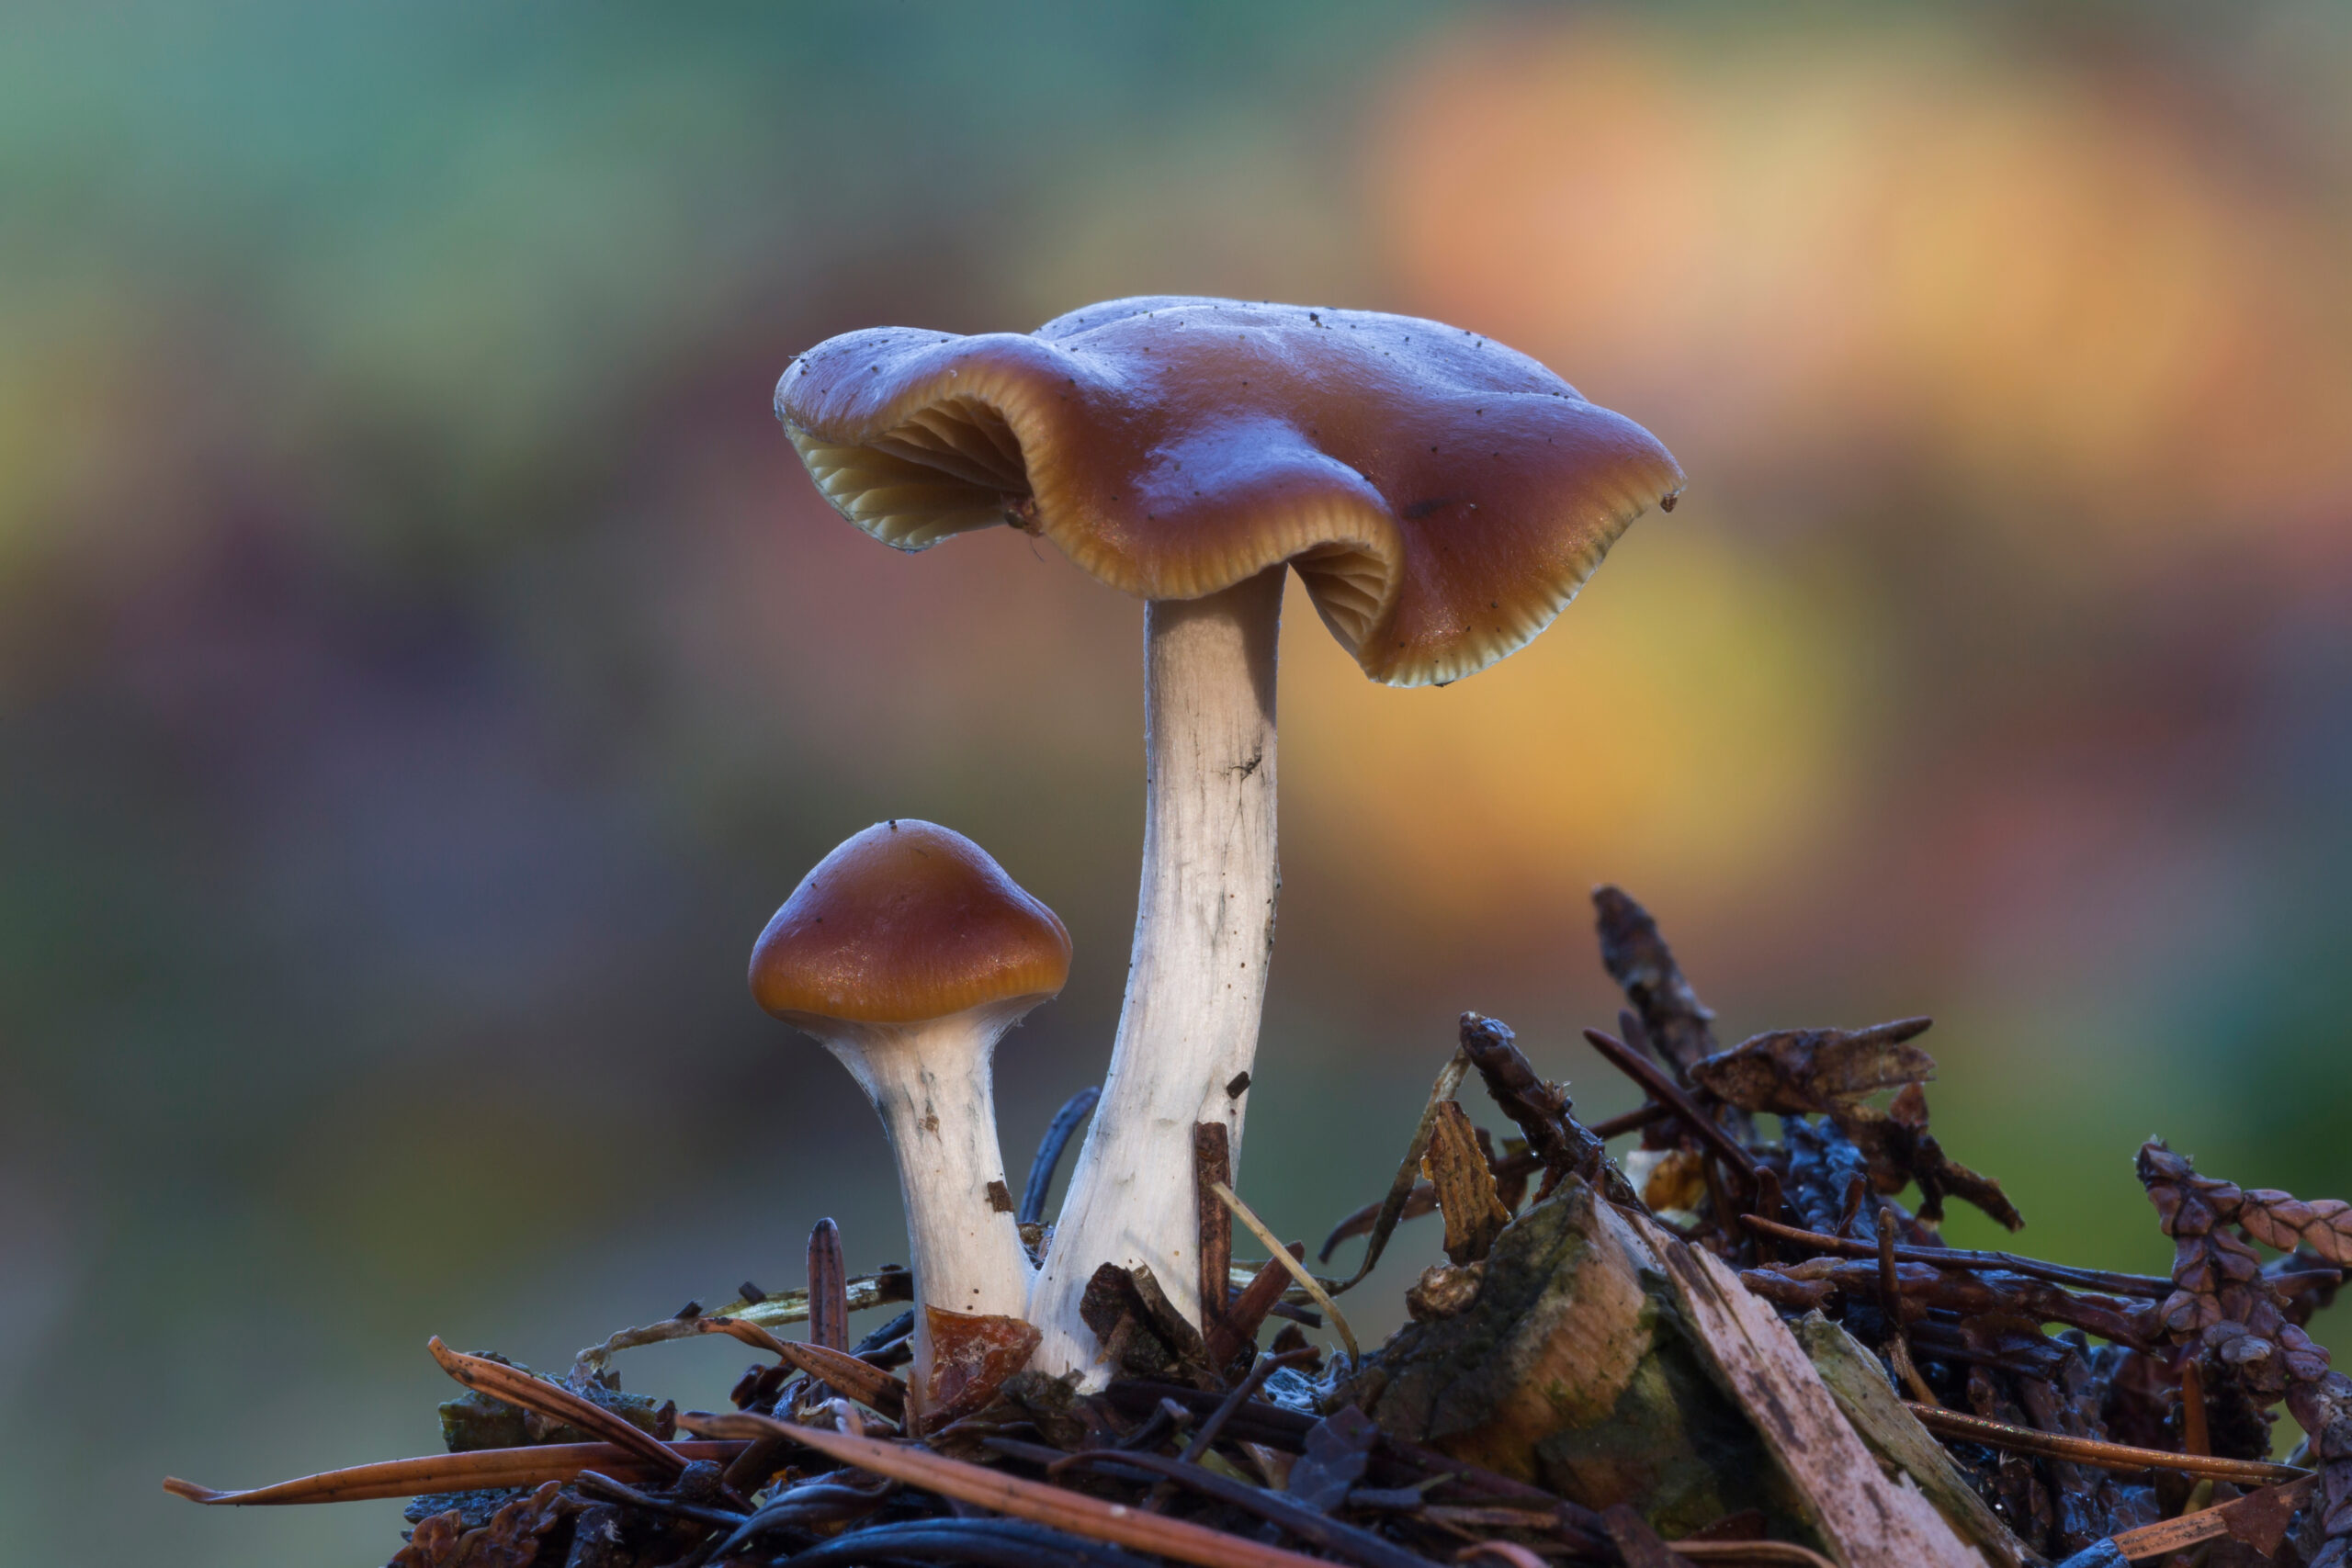
Veil: A thin membrane that connects the stem and cap of a mushroom, protecting the gills during development. The veil breaks as the mushroom matures to release spores. Many growers like to harvest the mushrooms just before the veil breaks.
A Note About Sterile conditions
Growing magic mushrooms requires patience, attention to detail, and a commitment to maintaining sterile conditions at the beginning of the growing process. Proper techniques help to prevent contamination, ensure healthy mycelial growth, and maximize yields.
RELATED: A Guide to Making Blue Honey (Magic Mushroom Infused Honey)
How to Grow Magic Mushrooms: A Beginner’s Guide
Technique Type: PF TEK without a pressure cooker
PF TEK (Psilocybe Fanaticus Technique) is a simple and effective method for growing magic mushrooms at home. More advanced techniques require an expensive piece of equipment called a pressure cooker. This method doesn’t. It involves using brown rice flour and vermiculite as the substrate, making it an ideal starting point for beginners.
Required materials and equipment:
- Wide-mouth half-pint jars with metal lids and rubber seals
- Brown rice flour
- Vermiculite
- Water
- Aluminum foil
- Measuring cups and spoons
- Mixing bowl
- Spore syringe or spore print
- 70% isopropyl alcohol or other disinfectant
- Latex or nitrile gloves
- Face mask
- Micropore tape
- Clear plastic storage container with lid (for fruiting chamber) often 6-quart but depends on scale
- Perlite
- Spray bottle
- Thermometer and hygrometer
AFTER YOU GROW: Simple Science-Backed Trick Now Proven to Make Your Mushrooms More Potent
PF TEK Step-by-step instructions
Step 1: Choose the right jars
Select half-pint (240 ml) wide-mouth canning jars with a two-piece lid (a metal band and a flat metal disc). Wide-mouth jars make it easier to remove the colonized substrate later. The jars work best if they’re not sloped in at the top. You want jars that are cylindrical–where the lid is the same width as the jar.
Step 2: Preparing the jars
Prepare the jar lids by drilling 4 small holes (about 1/8″ or 3-4 mm) evenly spaced around the perimeter of the metal disc. The holes should be close to the edge but not too close, as you don’t want to compromise the structural integrity of the lid.
Step 3: Prepare a barrier layer
You will need a layer to prevent contaminants from entering the jar while still allowing for air exchange. Use a layer of dry vermiculite, a piece of synthetic filter disc, or Tyvek material (cut to fit the jar lid).
Step 4: Assemble the jars
Place the barrier layer on top of the metal disc, aligning it with the holes. Then, screw the metal band over the barrier layer and the metal disc to secure it in place.
Step 5: Sterilize the jars
Before using the jars for the PF Tek, you’ll need to sterilize them. Wash the jars and lids with warm, soapy water, and rinse thoroughly. Sterilize the jars, lids, and metal bands by boiling them in water for at least 10 minutes. Once sterilized, allow the jars to cool before use.
Step 6: Preparing the substrate
- Mix 2 parts vermiculite, 1 part brown rice flour, and 1 part water in a mixing bowl.
- Fill the jars with the substrate mixture, leaving about half an inch of space at the top.
- Wipe the rims of the jars with a clean cloth. Add a dry layer of vermiculite to cover the substrate.
- Place the jar lids with rubber seals facing upward–the opposite of how they normally go. Screw the lids on as normal. Cover the top of the jars with aluminum foil.
Step 7: Sterilizing the substrate
Place a steamer basket or trivet at the bottom of a large pot and add water to reach just below the basket.
Arrange the filled jars in the pot, ensuring they don’t touch the sides or each other.
Steam the jars for 90 minutes, making sure the water doesn’t boil dry.
Allow the jars to cool to room temperature before proceeding.
** Super easy shortcut ways to get substrate that don’t involve sterilizing jars. **
Sterilized jars of substrate have been the traditional medium for growing magic mushrooms. But newer, easier methods are here.
Buying bags of substrate off the Internet
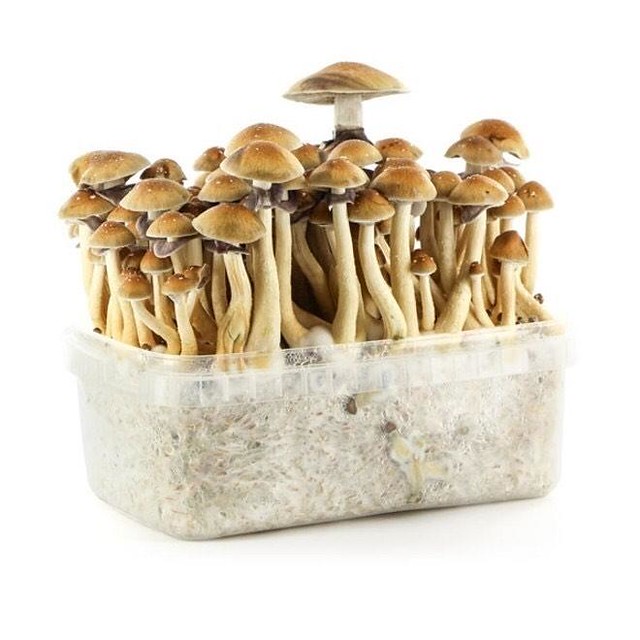
Businesses are now set up to sell you the kind of sterilized substrate we just taught you how to make yourself. These bags have injection ports made of rubber–like the ones we just taught you how to make out of tape. These bags can be expensive–you’ll pay $20 for sterilized substrate you could’ve made yourself for $2 or $3. But buying the bags of substrate cuts out a lot of effort, and you save a ton of time, and you lower some risks of contamination.
The Uncle Ben’s TEK
This technique–or “tek” for short–is among the simplest and cheapest methods. It uses bags of “ready rice” as the substrate in which the mushroom mycelium grow. It’s similar to the substrate bags you buy off the internet, but bags of Ready Rice from Uncle Bens are in every grocery store. And they are, on the inside, sterile, wet, and filled with nutritious grains for mycelium to grow in.
However you get your sterile substrate, the next step is to inoculate the substrate with spores.
Step 8: Inoculating the jars with spores
Disinfect your work area and wear gloves and a face mask to minimize contamination.
Shake the spore syringe and heat the needle with a flame to sterilize it. Allow it to cool before proceeding.
Inject about 1 cc of spore solution into each jar through the holes in the lid, aiming for the area between the substrate and the jar wall.
Seal the holes with micropore tape and store the jars in a dark place at room temperature.
Step 9: Incubating the jars and monitoring growth
Check the jars every few days for signs of mycelial growth (white, cottony patches). This process typically takes 2-4 weeks.
If you notice any unusual colors–usually green or black–or smell any odors, remove and discard the contaminated jar immediately.
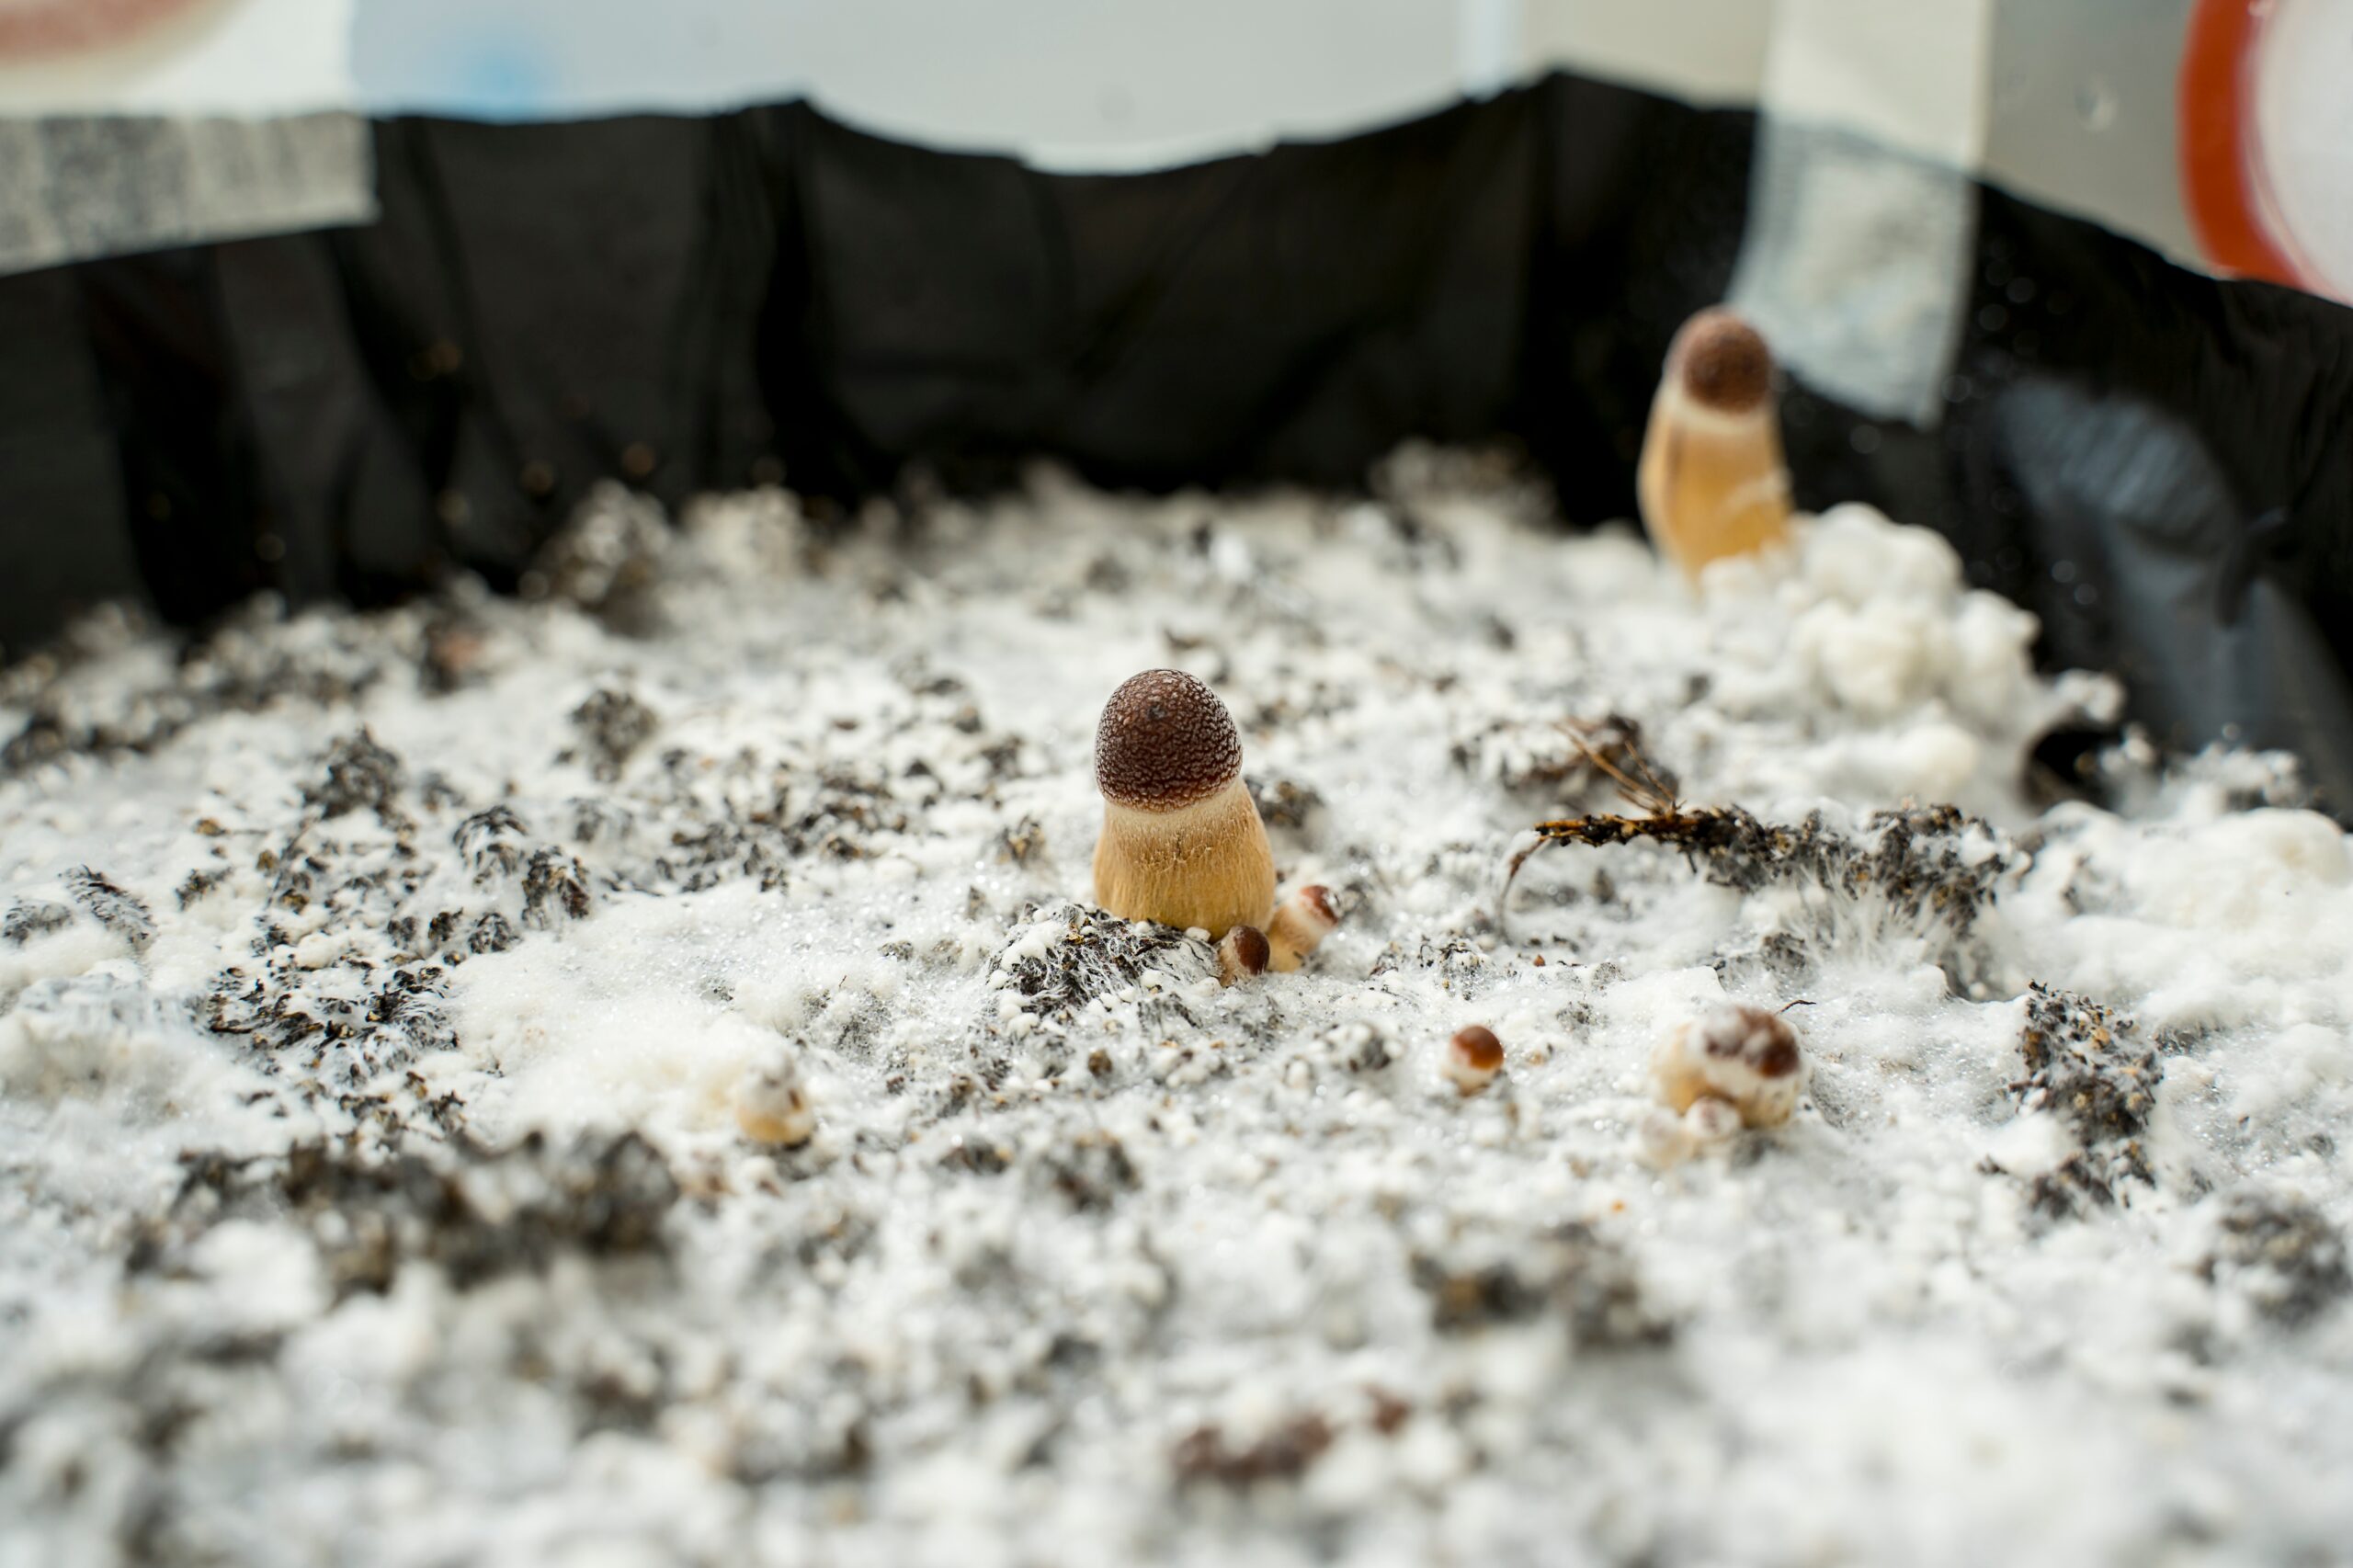
Step 10: Taking the cakes out of the jars and fruiting
Once the jars are fully colonized, meaning covered in white mycelium, prepare the fruiting chamber.
To prepare a plastic container for fruiting mushrooms directly from cakes using the PF Tek method, follow these steps:
Choose the right container: Select a clear or semi-transparent plastic container with a tight-fitting lid. A popular choice is a 6-quart (6-liter) plastic shoebox-style container. Make sure it’s deep enough to accommodate the cakes and provide enough space for the mushrooms to grow.
Drill holes for air exchange: To ensure proper air exchange and maintain high humidity levels inside the container, drill holes around the sides and lid of the container. Holes should be about 1/4″ (6 mm) in diameter and spaced approximately 2 inches (5 cm) apart. Arrange the holes in a staggered pattern for better air circulation.
Sterilize the container: Before using the container for fruiting, clean and sterilize it with a 10% bleach solution or a 70% isopropyl alcohol solution. Rinse it thoroughly with water and let it dry before use.
Once your plastic fruiting container is modified and sterilized, you can proceed with fruiting directly from the cakes using the PF Tek method:
After your colonized PF Tek jars are ready, carefully remove the cakes from the jars. To do this, loosen the jar lid, turn the jar upside down, and gently tap the bottom until the cake slides out.
Remove the cakes from the jars and gently rinse them under cold water to remove any loose vermiculite.
Prepare a layer of perlite for humidity: Moisten a sufficient amount of perlite and place it on the bottom of the fruiting container. The layer should be approximately 1-2 inches (2.5-5 cm) deep. Perlite helps maintain high humidity levels inside the container.
Create a barrier: To prevent the cakes from touching the perlite directly, cut small squares of aluminum foil, plastic, or a clean, sterilized material. Place one square under each cake.
Place the cakes in the container: Space the cakes evenly on top of the foil squares, ensuring they do not touch the sides of the container or each other.
Close the lid and place the container in a suitable location with indirect light, maintaining the temperature between 70-75°F (21-24°C).
Monitor the humidity and air exchange in the container, misting and fanning as needed.
Maintain humidity levels above 90% by misting the sides of the chamber and fanning a few times a day to exchange air. When misting, avoid directly spraying the cakes. Instead, mist the sides and the lid of the container.
Within a week or two, you should see the mushrooms start to pin and grow.
Harvest the mushrooms once the veils under the caps break, typically within 5-10 days of fruiting. Many growers harvest just before the veils break.
Dry your mushrooms on a towel or grate. Store your mushrooms in ziplock bags in the freezer.
Troubleshooting common issues
Contamination: Practice good hygiene, sterilize tools, and minimize exposure to open air.
Slow or stalled mycelial growth: Ensure consistent temperature and check for signs of contamination.
Poor fruiting: Make sure the fruiting chamber has adequate humidity and air exchange.
How to Grow Magic Mushrooms: A Guide for Intermediate Levels
Technique Type: Graine to Shoebox TEK
The benefits of moving from PF TEK to Grain to Shoebox TEK is typically due to increased yields and faster colonization times. This makes it an attractive option for intermediate growers.
Required materials and equipment
- Whole grains (e.g., rye berries, millet, or wild bird seed)
- Quart mason jars or bags with injection ports and filter patches
- Pressure cooker
- Measuring cup
- Mixing bowl
- Strainer
- Spore syringe, spore print, or liquid culture
- Clear plastic shoebox containers with lids
- Bulk substrate purchased or made at home
- 70% isopropyl alcohol or other disinfectant
- Latex or nitrile gloves
- Face mask
- Thermometer and hygrometer
How to Grow Magic Mushrooms: Grain-to-Shoebox Step-By-Step Instructions
Step 1: Preparing the grain substrate
This section of the guide will walk you through preparing grain jars for mushroom cultivation, an essential step for colonizing mycelium and initiating the fruiting process. There are various types of grains that can be used, such as rye berries, wild bird seed, whole oats, or popcorn, but we will focus on rye berries in this guide as they are a popular choice. This method is well-liked because it is straightforward, efficient, and requires minimal equipment. Alternatively, pre-sterilized grain jars can be purchased for added convenience.
Rinse the grains thoroughly in a strainer, then soak them in water for 12-24 hours.
Drain the grains and allow them to sit in the strainer for 30 minutes to remove excess moisture.
Simmer the grains: After soaking, drain the grains, and transfer them to a large pot. Add water to the pot until the grains are just covered. Bring the water to a simmer over medium heat. Maintain a gentle simmer.
The simmering times for rye berries, millet, and wild bird seed can vary slightly, but generally, they fall within these ranges:
Rye berries: Simmer rye berries for approximately 15-20 minutes. The rye berries should be well-hydrated and be plump but not bursting or mushy.
Millet: Simmer millet for around 10-15 minutes. Millet is smaller than rye berries, so it absorbs water more quickly.
Wild bird seed (WBS): Simmer WBS for about 20-30 minutes. Wild bird seed is a mix of various seeds, such as millet, sunflower seeds, and cracked corn. The simmering time for WBS depends on the specific mix you are using. Typically, people remove the black sunflower seeds before soaking and boiling the grain as well.
The aim is to achieve grains that are fully hydrated but not bursting or overcooked.
Keep in mind that these are general guidelines, and the exact simmering time might vary depending on factors like the age and quality of the grains or seeds, as well as the altitude at which you are cooking. It’s important to monitor the grains or seeds during simmering to achieve the optimal hydration level. The grains should be plump and moist but not overly wet, mushy, or clumped together.
Drain and cool the grains: Once the grains have been simmered, drain them in a colander and allow them to cool for a few minutes. Spread the grains out on a clean towel or a sheet of aluminum foil, and let them cool and dry for about 30 minutes to an hour. Ensure that the grains are not too wet or clumping together, as excess moisture can lead to contamination.
Fill the jars or bags with the soaked grains, leaving some space for expansion.
Seal the jars with their lids or seal the bags with an iron, hair straightener or bag heat sealer.
Step 2: Sterilizing the grain
Place the jars or bags in a pressure cooker, ensuring they do not touch each other or the sides of the cooker.
Follow the pressure cooker’s instructions to sterilize the grain at 15 PSI for 90 minutes.
Allow the grains to cool to room temperature before proceeding.
Step 3: Inoculating the grain with spores or liquid culture
Disinfect your work area and wear gloves and a face mask to minimize contamination.
Inject the spore solution or liquid culture into the jars or bags, taking care not to touch the needle to any surfaces.
Seal the injection site with micropore tape and store the jars or bags in a dark place at room temperature.
Step 4: Colonizing the grain and monitoring growth
Check the jars or bags every few days for signs of mycelial growth.
Gently shake the jars or bags once the mycelium has colonized about 30% of the grain to redistribute the mycelium and speed up colonization.
Step 5: Preparing the shoebox containers
Disinfect the shoebox containers and lids with a 70% isopropyl alcohol solution or other disinfectant.
Optionally, create a sunlight barrier around the lower ⅔ and bottom of the container to minimize side pinning. This can be done with black duct tape around the outside of the bin or with a cut piece of black trash bag.
Recipe Guide for Bulk Substrate Using the Bucket Pasteurization Method (Optional, as Bulk Substrate can also be purchased — Is purchased skip to Step 6 Below)
This section of the guide will walk you through creating a bulk substrate for mushroom cultivation using the bucket pasteurization method with coco coir, vermiculite, and horse manure as the main ingredients. There are other recipes but this is my favorite.
This method is popular because it is simple, effective, and requires minimal equipment. Alternatively, bulk substrate can be purchased pre-made. Keep in mind that the recipe below is based on a ratio of ingredients and can be modified for any size grow.
Ingredients:
- 5 lbs (2.3 kg) coco coir
- 5 lbs (2.3 kg) vermiculite
- Water
- 5 lbs (2.3 kg) horse manure, aged and dried
- 0.6 lbs (0.27 kg) Gypsum (optional, but recommended for calcium and pH balance)
- Equipment:
- Large plastic bucket or container with a lid (20-gallon/75-liter capacity or larger)
- Large metal pot for boiling water
- Thermometer
- Strainer or colander
- Large mixing container or tarp
- Gloves
- Tongs or a large stirring spoon
Instructions:
Prepare your materials: Ensure that your horse manure is aged, dried, and crumbled.
Combine ingredients: In a large mixing container or on a clean tarp, mix together the coco coir, vermiculite, and horse manure. If using gypsum, add it to the mixture now. Mix the ingredients thoroughly to ensure even distribution.
Transfer the mixture to the bucket: Place the mixed substrate into your large plastic bucket or container, filling it about three-quarters full.
Boil water: In a large metal pot, bring enough water to a boil so that it will cover the substrate mixture when poured into the bucket.
Check water temperature: Use a thermometer to ensure the water temperature is between 160-180°F (71-82°C). This temperature range is essential for pasteurization.
Pour hot water over the substrate: Slowly pour the hot water into the bucket, fully submerging the substrate mixture. Stir the mixture gently with tongs or a large stirring spoon to ensure that all parts of the substrate are exposed to the hot water.
Cover and let sit: Place the lid on the bucket, and let the substrate sit for 1-1.5 hours. This will allow the heat to pasteurize the substrate, killing off any unwanted contaminants.
Drain and cool the substrate: After the pasteurization period, carefully remove the lid and drain the excess water from the bucket using a strainer or colander. Allow the substrate to cool down to room temperature. It’s important to let the substrate drain well, as overly wet substrate can lead to contamination or poor colonization.
Check moisture content: Once the substrate has cooled and drained, it should have the right moisture content. To test this, take a handful of the substrate and squeeze it. If only a few drops of water are released, the moisture content is just right. This level of hydration is often referred to as field capacity. If no water is released, the substrate is too dry, and you should add a small amount of water and mix it in. If the substrate is too wet, let it drain further before using it in your mushroom cultivation.
With your pasteurized bulk substrate prepared, you can now proceed with the next steps of your mushroom cultivation process, such as mixing the substrate with colonized grain or using it to fill your growing containers.
Once the grain is fully colonized, break it up and mix it evenly with the bulk substrate in the shoebox containers.
Step 6: Grain to bulk substrate
Mixing the colonized grain with bulk substrate at a minimum ratio of 1 part grain to 5 part substrate and maximum of 1 part grain to 1 part substrate. The higher the grain to substrate ratio the more you reduce the likelihood of contamination. More aggressive strains and genetics can typically handle lower ratios.
Smooth the surface and cover with a layer of substrate up to ½ inch thick (optional).
Place the lids on the containers, leaving a small gap for air exchange.
Now place the containers in a dark place until the bulk substrate is fully colonized, typically within 7 days.
Step 7: Fruiting and harvesting
Once the substrate is colonized switch to fruiting conditions.
Take the lids off the containers and take an extra empty shoebox container and invert it over the one filled with the substrate. This will allow space for mushrooms to fruit and sunlight. Alternatively, you can use a clear plastic grocery store bag stretched over the edges of the bin with holes poked in it for air exchange.
Maintain humidity levels above 90% by spraying occasionally and monitoring for condensation on the sides of the shoebox and provide indirect light for 12 hours a day.
Monitor the shoebox containers for signs of mushroom pins and fruiting.
Harvest the mushrooms just after the veils under the caps break–or just before the veils break– typically within 5-10 days of fruiting.
To initiate the next flush of fruiting mushrooms, fill the containers with water until the substrate cakes float. Soak 8-12 hours overnight and then pour off the water. Another flush of mushrooms should pin and fruit over the next week.
Dry your mushrooms using a food dehydrator and store in ziplock bags in the freezer.
Troubleshooting common issues
Contamination: Ensure proper sterilization and practice good hygiene during inoculation.
Slow or stalled mycelial growth: Check for signs of contamination and maintain consistent temperatures.
Poor fruiting: Make sure the fruiting environment has adequate humidity, air exchange, and light.
How to Grow Magic Mushrooms: Advanced Experience Levels: Monotubs, laminar flow hood, agar, liquid culture, cloning mushrooms, and spore prints.
Technique Type: Grain and monotub cultivation
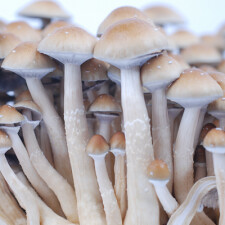
The advantages of monotub cultivation allow for larger-scale mushroom growing with minimal maintenance and increased yields. If you’re going to tackle this method, you should have experience with the beginner and intermediate levels first.
Step 1: Prepare the container
Clean the plastic container and lid thoroughly with soap and water. Allow it to dry completely before proceeding.
Step 2: Drill or cut holes for air exchange
Using a drill with a hole saw or a sharp knife or box cutter, make 4-6 holes on the long sides of the container, about 2-4 inches (5-10 cm) from the bottom. The holes should be large enough to tightly stuff with Poly-fil (usually 1-2 inches, or 2.5-5 cm in diameter). Additionally, make 2-4 holes on the short sides of the container, 4-6 inches (10-15 cm) from the top, for more air exchange and to help maintain humidity.
Step 3: Stuff holes with Poly-fil
Stuff the holes tightly with Poly-fil or synthetic pillow stuffing. This will allow for air exchange while keeping contaminants out of the container.
Step 4: (Optional) Line the container with a dark plastic bag
To make it easier to remove the substrate later and to prevent side-pinning, line the container with a dark plastic bag or black trash bag. Press the bag against the sides and bottom of the container, ensuring there are no air pockets.
Step 5: (Optional) Add a layer of perlite
Adding a layer of perlite to the bottom of the container can help maintain humidity. To do this, add about 1-2 inches (2.5-5 cm) of moistened perlite to the bottom of the container.
Step 6: Prepare the substrate
In a separate container or bag, mix your fully colonized spawn with your bulk substrate at a ratio of about 1:2 or 1:3 (spawn to substrate). Break up the spawn and mix it evenly with the substrate. Moisture content should be such that when you squeeze a handful of the mix, only a few drops of water are released.
Step 7: Fill the monotub with substrate
Add the mixed spawn and substrate to the monotub. Spread the mixture evenly, aiming for a depth of around 3-5 inches (7.5-12.5 cm). Gently press the substrate down to create an even, compact surface, but avoid packing it too tightly.
Step 8: Incubate the monotub
Put the lid on the monotub and place it in a dark, warm area with a temperature of around 75-80°F (24-27°C). Allow the mycelium to colonize the substrate for 7-14 days or until fully colonized. Check for any signs of contamination and address them promptly, if needed.
Step 9: Initiate fruiting conditions
Once the substrate is fully colonized, introduce light (12 hours on, 12 hours off) and slightly lower the temperature to 65-75°F (18-24°C) to initiate fruiting conditions. You can use indirect natural light or artificial light, such as 6500K LED or fluorescent bulbs. Make sure the light is not too intense to avoid drying out the substrate.
Step 10: Maintain humidity and air exchange
Mist the walls of the monotub and the surface of the substrate with a spray bottle of water, as needed, to maintain high humidity (around 90-95%). Be careful not to over-mist, as excessive moisture can lead to contamination. The Poly-fil-stuffed holes should provide adequate air exchange, but you can also manually fan the monotub with the lid 2-3 times a day to promote better air exchange. A hygrometer can be useful for monitoring the humidity inside the monotub.
Step 11: Harvest mushrooms
Mushroom pins will start to form, and within a week or two, you should see mature mushrooms ready for harvest. Harvest the mushrooms by gently twisting and pulling them from the substrate. Harvest all mushrooms at once, or in stages as they mature.
Step 12: Prepare for the next flush
Once you’ve harvested the first flush of mushrooms, you can prepare the monotub for subsequent flushes. Remove any remaining mushroom material and mist the substrate to rehydrate it. Replace the lid and allow the mycelium to recover for a few days before initiating fruiting conditions again.
Step 13: Clean and maintain the monotub
After each flush, clean the monotub by removing any remaining mushroom material and misting the substrate to rehydrate it. Continue to maintain humidity and air exchange as described in Step 10. You can expect 2-4 flushes from a monotub, depending on the mushroom strain and the quality of the substrate.
By following these steps, you can create a successful monotub setup for growing mushrooms. Be patient and maintain the proper environmental conditions to ensure a healthy, productive grow.
Troubleshooting common issues
Contamination: Ensure proper sterilization techniques and practice good hygiene during all steps of the process.
Slow or stalled mycelial growth: Check for signs of contamination and maintain consistent temperatures.
Poor fruiting: Make sure the fruiting environment has adequate humidity, air exchange, and light.
The advantages of advanced techniques for experienced growers
Advanced techniques, such as working with a laminar flow hood, liquid culture, agar, and cloning mushrooms, allow for greater control over the cultivation process, higher yields, lower costs, and improved genetics.
Laminar flow hoods
A laminar flow hood, also known as a laminar flow cabinet or clean bench, is a piece of equipment used to create a sterile environment. It is designed to provide a constant, unidirectional flow of HEPA-filtered air, which helps prevent contamination from airborne particles, such as mold spores, bacteria, and other contaminants.
In the process of growing magic mushrooms, a laminar flow hood is used during tasks that require a sterile environment, such as:
Inoculation: When transferring spore solutions, agar wedges, or liquid cultures to grain jars or petri dishes, a laminar flow hood minimizes the risk of contamination.
Grain-to-grain transfers: When transferring colonized grains to new jars or bags for expanding the mycelial mass, a laminar flow hood ensures that the process is carried out in a contamination-free environment.
Agar work: When preparing agar plates, isolating strains, or making transfers between plates, working in a laminar flow hood helps maintain a sterile workspace and prevent contamination.
Spore printing and syringe preparation: When collecting spore prints or preparing spore syringes, a laminar flow hood helps maintain a clean environment to reduce the risk of contamination.
While a laminar flow hood is useful in mushroom cultivation, it is not strictly necessary for growing magic mushrooms, especially for small-scale or hobbyist growers. Alternative methods, such as the still air box (SAB) or glove box, can also provide a relatively sterile environment for carrying out inoculations and other tasks. However, a laminar flow hood is generally considered to be more effective at preventing contamination and is widely used in professional and large-scale cultivation operations.
Building a laminar flow hood
Required materials and equipment
- HEPA filter rated for 99.99% efficiency
- Pre-filter
- Blower or fan with appropriate CFM rating
- Plywood, MDF, or another suitable material for constructing the hood
- Screws, brackets, and sealant
- Power tools for cutting and assembling the hood
Step-by-step construction guide
Determine the appropriate dimensions for your hood based on the size of your HEPA filter and blower.
Construct the frame of the hood using the plywood or MDF, and secure the components with screws and brackets.
Install the pre-filter, HEPA filter, and blower, ensuring airtight seals with sealant.
Test the hood for proper airflow and make any necessary adjustments.
Working with liquid culture
A liquid culture (LC) is a solution containing nutrients that promote the growth of mushroom mycelium. Creating a liquid culture from spores or agar can help speed up the colonization process and allow for multiple inoculations. Here’s a step-by-step guide on how to make a liquid culture from spores or agar:
Gather materials: You will need a spore syringe or an agar wedge containing the desired mushroom strain, a jar with a tight-fitting lid (e.g., a mason jar), a liquid culture medium (such as light malt extract, honey, or dextrose mixed with water), a pressure cooker or autoclave, a still air box (SAB) or laminar flow hood, gloves, a face mask, a sterile scalpel or inoculation loop, isopropyl alcohol, and a lighter or torch.
Prepare the liquid culture medium: Mix your chosen nutrient source with water following the recommended proportions (for example, 1-4% light malt extract or 1-2% honey or dextrose by weight). Fill the jar with the prepared liquid culture medium, leaving some headspace for shaking. Do not fill more than half to two-thirds of the jar.
Sterilize the jar and liquid culture medium: Seal the jar with the lid, making sure there is a hole in the lid covered with a gas exchange filter, such as synthetic filter discs, micropore tape, or polyfill. Place the jar in a pressure cooker or autoclave and sterilize it at 15 PSI for 20-30 minutes. Allow the pressure cooker to cool and depressurize before removing the jar. Let the jar cool to room temperature.
Work in a sterile environment: Set up a still air box or work in front of a laminar flow hood to minimize contamination risks. Put on gloves and a face mask. Clean your gloves, the jar’s exterior, and the spore syringe or agar dish with isopropyl alcohol.
Inoculate the liquid culture
From spores: Shake the spore syringe to evenly distribute the spores. Flame the needle with a lighter or torch until it is red hot, then let it cool for a few seconds. Inject the spore solution into the jar through the gas exchange hole or self-healing injection port, squirting the solution along the side of the jar to create a streak.
From agar: Open the agar dish inside the still air box or laminar flow hood. Use a sterilized scalpel or inoculation loop to cut a small piece of colonized agar (preferably from the leading edge of the mycelium). Carefully open the jar and drop the agar wedge into the liquid culture medium. Close the jar immediately.
Incubate the liquid culture
Place the jar in a dark, warm location with a temperature of around 75-80°F (24-27°C). Gently shake the jar once or twice a day to distribute the spores or mycelium and promote growth.
Monitor the growth
You should see mycelial growth within a few days to a week. The mycelium will appear as white, wispy strands or small cloud-like formations in the liquid culture. Continue to shake the jar daily to break up the mycelium and encourage growth. The liquid culture should be ready to use within 1-3 weeks.
Use the liquid culture
Once the mycelium has grown throughout the liquid culture, you can use it to inoculate grain jars, agar plates, or other substrates. Draw the liquid culture into a sterile syringe or use a sterile pipette for inoculation.
Remember to always work in a clean and sterile environment to minimize the risk of contamination. Also, make sure to practice proper hygiene and sterilization techniques throughout the entire process.
Storage
If you don’t plan to use the entire liquid culture immediately, you can store it in the refrigerator for several weeks or even months. Ensure that the lid is tightly sealed to prevent contamination. Before using the stored liquid culture, shake it well to distribute the mycelium evenly.
Helpful Hint: Discard contaminated cultures
If you notice any off-colors, such as green, black, or pink, or any foul odors, the liquid culture may be contaminated. In this case, discard the contaminated culture and start over with a new batch. Be sure to thoroughly clean and sterilize all equipment before starting the process again.
Creating a liquid culture from spores or agar is an effective way to speed up colonization and increase the yield of your mushroom cultivation. However, maintaining a sterile environment and following proper procedures are crucial to avoiding contamination and ensuring the success of your project.
Working with agar
Agar provides a nutrient-rich medium for mycelial growth, allowing for cleaner and more isolated cultures, as well as the ability to select for desirable traits.
Preparing agar plates
An agar recipe commonly used for mycelium growth is called Potato Dextrose Yeast (PDY) agar or Malt Extract Agar (MEA). Here’s a basic recipe for Malt Extract Agar:
Ingredients:
- 10 grams agar-agar powder
- 10 grams light malt extract
- 500 ml distilled water
- (Optional) 1 gram of nutritional yeast or 1-2 grams of peptone to enhance mycelial growth
Instructions:
In a clean container, dissolve the light malt extract and agar-agar powder in 500 ml of distilled water. Mix well to ensure the malt extract and agar are fully dissolved. If using nutritional yeast or peptone, add it to the mixture at this stage.
Pour the mixture into a flask or heat-resistant bottle suitable for use in a pressure cooker or autoclave. Loosely cap the flask or bottle to allow steam to escape during sterilization. Optionally, you can use a flask with a vented cap, which can be sealed tightly but still allows steam to escape.
Place the flask or bottle containing the mixture into a pressure cooker or autoclave. Sterilize the mixture at 15 PSI for 20-30 minutes. This process will also help ensure that the agar is fully dissolved.
Carefully remove the flask or bottle from the pressure cooker or autoclave using heat-resistant gloves or tongs. Allow the mixture to cool slightly until it reaches a temperature of around 140-160°F (60-70°C). The agar should still be liquid at this temperature.
Working in a sterile environment, such as a still air box or laminar flow hood, pour the agar mixture into sterile petri dishes. Pour enough agar to cover the bottom of each dish, around 1/8 to 1/4 inch (3-6 mm) deep. Allow the agar to cool and solidify.
Once the agar has solidified, store the prepared petri dishes in a clean, sealed container or plastic bag to prevent contamination. Store the dishes in a cool, dark place until you are ready to use them for mycelial growth or spore germination.
Remember to always work in a clean and sterile environment to minimize the risk of contamination. Proper hygiene and sterilization techniques are crucial for successful mycelium growth on agar plates.
Transferring cultures to agar
In a sterile environment, such as a laminar flow hood or a still air box, use a sterilized scalpel or inoculation loop to transfer a small piece of mycelium, liquid culture, or spore solution to the agar plate.
Seal the plate with parafilm or plastic wrap and store in a dark place at room temperature.
Cloning mushrooms
The benefits of cloning
Cloning mushrooms allows for the selection of desirable traits, such as faster colonization, higher yields, and increased potency. These traits will be transferred to every mushroom that grows from the cloned mushroom as it creates a genetic homogeneity to the mycelium and fruits that are produced from any culture or agar created from that mushroom’s genetics.
Selecting a suitable specimen
Choose a healthy, fully developed mushroom with desirable characteristics for cloning. These characteristics could include size, speed of growth, unique appearance (color, shape, cluster etc), or desirable effects when eaten.
Step-by-step cloning guide
In a sterile environment, remove the mushroom cap and carefully slice a small piece of tissue from the inner part of the stem using a sterilized scalpel.
Transfer the tissue to an agar plate and seal with parafilm or plastic wrap.
Store the plate in a dark place at room temperature and monitor for mycelial growth.
Once the plate is colonized with mycelium it can be sliced up in front of a laminar flow hood and transferred to a sterilized grain bag or other agar plates.
How to Grow Magic Mushrooms: Species other than Psilocybe Cubensis
While Psilocybe cubensis is the most commonly cultivated magic mushroom species, experienced growers may wish to explore other species, such as Psilocybe azurescens, Psilocybe cyanescens, or Panaeolus cyanescens. These species often require different growing conditions, such as colder temperatures, different substrates, or outdoor cultivation. Research the specific requirements for the species you wish to grow and adjust your techniques accordingly.
A Recap of How to Grow Magic Mushrooms
In this comprehensive guide, we have covered various techniques for growing magic mushrooms, from beginner to advanced levels, including PF TEK, Grain to Shoebox TEK, and monotub cultivation, along with advanced methods like laminar flow hood construction, agar work, and cloning.
Mushroom cultivation is an ongoing learning process that requires patience, attention to detail, and a willingness to experiment with new techniques. By continually refining your methods and sharing your experiences, you can improve your skills and contribute to the community’s collective knowledge.
As you progress in your mushroom cultivation journey, consider engaging with fellow growers through online forums, workshops, or local meetups. Sharing your experiences and learning from others can lead to new insights, help troubleshoot issues, and foster a sense of camaraderie among cultivators.
Growing Magic Mushrooms: 2026 Legal Status (U.S.)
The legal landscape for cultivation has changed faster than for any other psychedelic in U.S. history — but it is still narrow and full of distinctions that matter.
Federal law
Psilocybin and psilocin are Schedule I substances under the Controlled Substances Act. Cultivating, possessing, or distributing them is a federal felony. Federal scheduling does not change inside state programs — Oregon and Colorado have created state-law carve-outs, but federal law still technically applies. Federal enforcement against personal-use cultivation has been rare for decades, but it is not zero.
Colorado (Proposition 122, effective 2025)
Colorado’s Natural Medicine Health Act is currently the only U.S. state framework that decriminalizes personal-use cultivation of psilocybin (and three other natural psychedelics) for adults 21+. Cultivation must occur on private property within a household, and the law sets specific possession and plant-count limits. Commercial cultivation and sale outside the state’s licensed healing-center system remain prohibited. The Colorado Department of Regulatory Agencies oversees the licensed program.
Oregon (Measure 109, operational since 2023)
Oregon’s framework is the opposite of Colorado’s: cultivation is permitted only by state-licensed manufacturers, who supply psilocybin products to state-licensed service centers. Personal-use home cultivation is not legal in Oregon. The Oregon Health Authority oversees the program.
Decriminalized cities
Eleven-plus U.S. cities have decriminalized psilocybin possession, including Denver, Oakland, Berkeley, Seattle, Detroit, Ann Arbor, Cambridge, Somerville, Northampton, Hazel Park, and Washington D.C. Decriminalization typically deprioritizes possession enforcement but does not affirmatively legalize cultivation. A grower in a decriminalized city is technically still committing a state and federal offense, even if local police rarely act on it.
Spores: a quirk in the law
Psilocybin spores contain no psilocybin until they germinate. Most U.S. states treat them as legal to possess for taxonomic and microscopic study, which is why spore vendors operate openly in most of the country. California, Georgia, and Idaho are notable exceptions — those states criminalize psilocybin spores explicitly. Even in legal states, intent to cultivate can create criminal exposure.
More on Magic Mushrooms from HealingMaps
If you’re here because you’re researching mushrooms more broadly, the linked articles below cover the most-asked questions.
- What Are Psilocybin Mushrooms? — the canonical guide to species, effects, and legal landscape
- Shrooms Dosage Guide — microdose through heroic dose, with species-specific ranges
- How Long Do Magic Mushrooms Last? — phase-by-phase trip timeline + duration estimator
- 10 Most Potent Magic Mushroom Species — which strains hit hardest per gram
- Psilocybe Cubensis Guide — the most-grown species, in depth
- Penis Envy Mushrooms — the strain everyone asks about
- McKennaii Mushrooms
- Lemon Tek — citric-acid pre-conversion for faster onset
- Ways to Eat Magic Mushrooms
- Psilocybin Retreats Near Me — for readers interested in a legal supervised path
Frequently Asked Questions
What’s the easiest method for a first-time grower?
PF Tek is the standard answer. It uses inexpensive quart jars, a simple brown-rice-flour-and-vermiculite substrate, and a forgiving protocol. Yields are smaller than monotub or bulk methods, but the learning curve is gentler and the cost of failure is low. Most growers who continue past one cycle move to a monotub on their second grow.
How long does it take from inoculation to harvest?
Typically 6–12 weeks total, depending on method and strain. PF Tek runs ~6–10 weeks; monotub and bulk setups run ~8–14 weeks because of slower colonization across larger substrate volumes. Inside that range: 2–4 weeks of colonization, 1–2 weeks of pinning conditions, and 3–8 weeks across multiple flushes.
How much does the equipment cost?
$30–80 for a basic PF Tek setup (jars, brown rice flour, vermiculite, a stovetop pressure cooker if needed). $60–150 for a monotub setup. $200–500+ for a bulk or grow-tent build with a laminar flow hood. Pressure cookers and flow hoods are the largest single-item costs; some growers borrow or share them.
What goes wrong most often?
Contamination is the leading cause of failed grows — usually from inadequate sterilization of substrate or jars, or from poor sterile technique during inoculation. Other common issues: incorrect spawn-to-substrate ratio, dried-out substrate, and inadequate fresh-air exchange (FAE) during fruiting. Most contamination shows visually before the substrate is ruined, which is why experienced growers inspect tubs daily.
Are spores legal where I live?
In most U.S. states, yes — psilocybin spores contain no psilocybin and are sold openly for microscopy. The exceptions are California, Georgia, and Idaho, which criminalize spores explicitly. Note that even in legal-spore states, demonstrating intent to germinate them can create criminal exposure under state cultivation statutes.
Is growing in Colorado fully legal?
Within Colorado state law, personal-use cultivation by adults 21+ is decriminalized under Proposition 122 (effective 2025), within stated household limits. It remains a federal Schedule I offense, but federal enforcement of personal-use cultivation has historically been rare. Commercial cultivation outside the state-licensed healing-center supply chain is still prohibited.
Why grow at home instead of using Oregon or Colorado service centers?
Cost is the most common reason — licensed service-center sessions in Oregon currently run roughly $1,000–$3,500 per session, well above the per-cycle cost of home cultivation. Other reasons include geographic access (most U.S. residents don’t live in OR or CO), control over strain and dose, and personal autonomy. The trade-off is legal exposure and the time investment in learning the craft.


David Lipps
August 4, 2022 at 12:45 amI live in Colorado. I have depression and a brain tumor. I have gone off wellbutrin, It does not work. How do I connect with mushroom suppliers who can provide me with the magic mushroom. Help to connect with the suppliers here in the states or Canada.
Thanks,
David
Auralie
June 25, 2023 at 5:25 amWhat is the best and easiest way to grow albino penis envy mushrooms from spore syringes?